This post contains affiliate links. If you use these links to buy something I may earn a commission. You can read my full disclaimer here.
My husband is a constant reader. You’ll rarely find him without his Kindle, Kobu or a physical book. Me? Not so much. I had my old Kindle paper white first generation I bought in 2012. When I was younger I was reading a LOT and I wanted to go back to those days! But with a young kid, a demanding job and a house to manage I simply don’t have the time (or energy). So I thought that buying the shiniest, prettiest and most sophisticated e reader out there will change it. So, I waited for it to be on sale and got it on Prime Day last year. Did it make me read more? Nope! But I decided that I want to sew a nice little case for it!

I’ve started researching that mission. I started with a Pinterest board to collect ideas. I looked at e reader sleeves, obviously, but also at laptop sleeves tutorials, books (like, real books) sleeves and embroidery ideas (you’ll soon see why!).
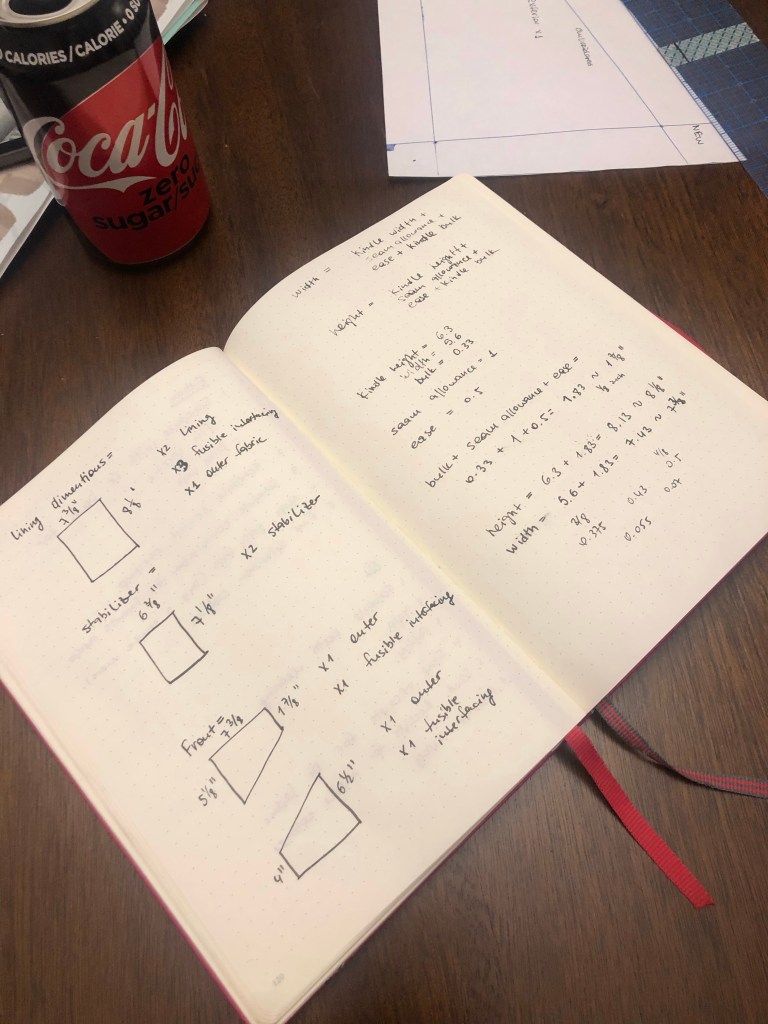
my biggest concern was how to determine the size. I wanted it to be snug, I wanted to add some padding or structure to keep it protected, but also not too snug to make it fall out.
I’ve finally started working.
First try – too small
I used the dimensions mentioned on that blog post. I also used her tutorial and snaps directions. She used those dimensions for her sleeve:
(L + H + 1) X (W + H + 1)
So I used them as well! But the problem is.. I also added bulky interfacing that I didn’t take into account in the hight. To make it worse, I’ve let my interfacing into the seams which made the case even smaller. So – the kindle didn’t fit. Not even close.
SECOND TRY – TOO BIG (and an unfortunate buttonhole accident)
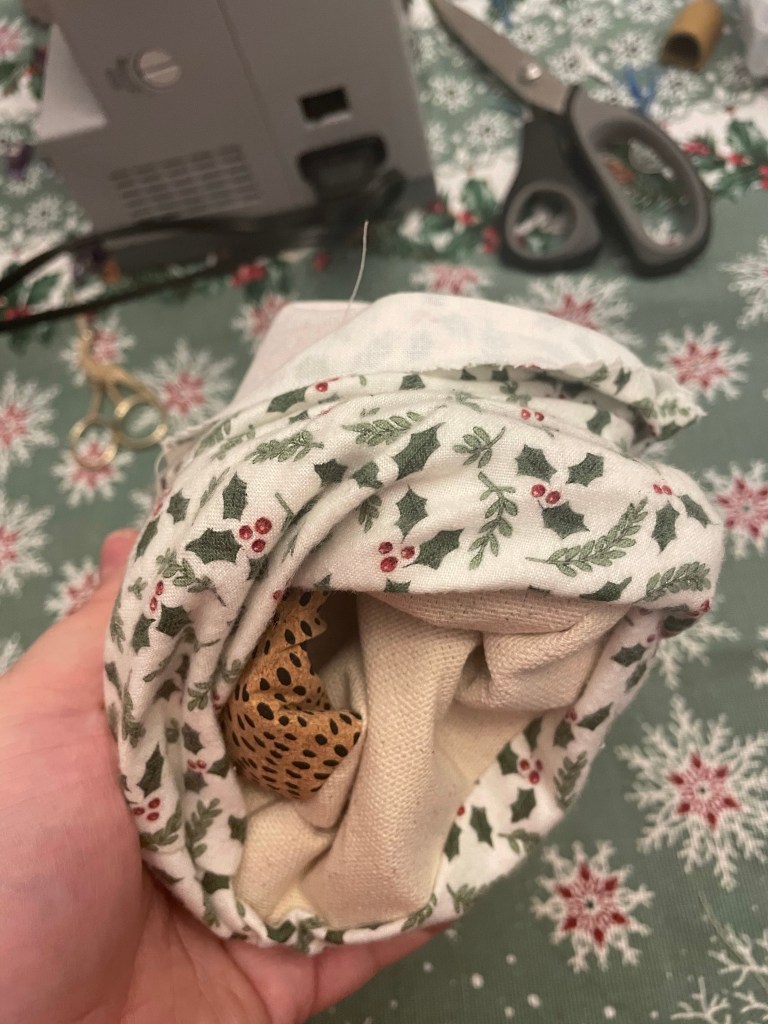
On the second try I’ve cut a smaller piece of the thick interfacing so it will not get to the seams. But I also added more in the overall dimensions (wrong!). The result turned out to be pretty, and way flatter than the first try, but BIG.


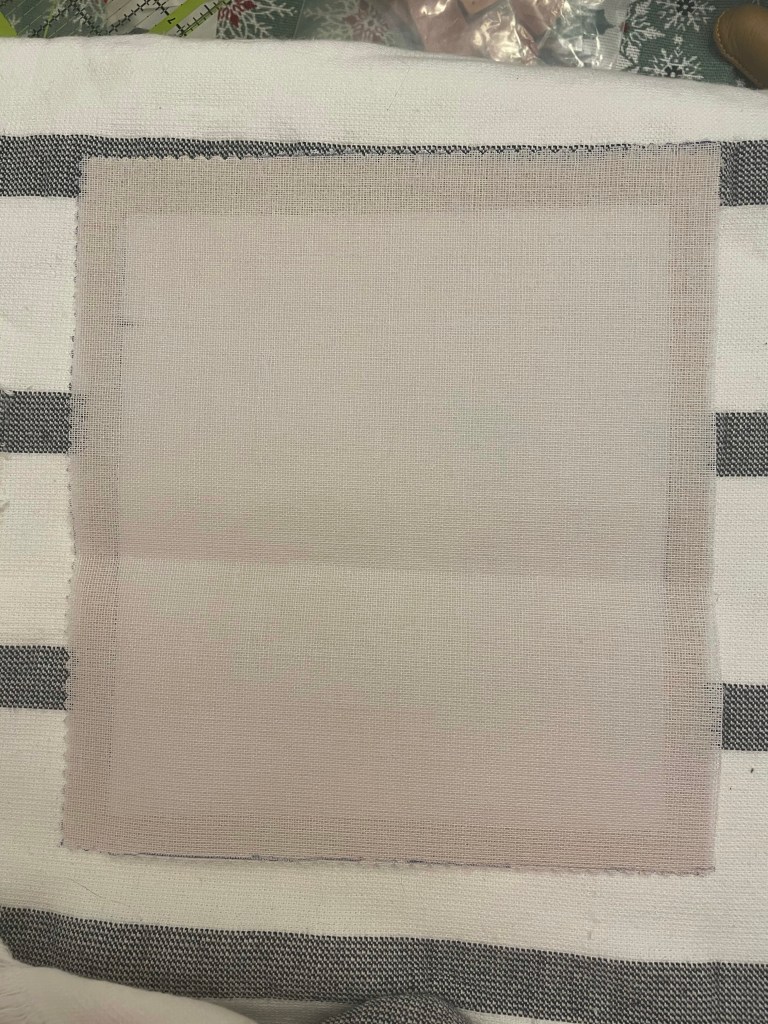
I embroidered the cream canvas prior to cutting, so it will not fray too much. On top of the embroidery I ironed pre cut woven interfacing and then cut it out of the fabric.


I also messed up the buttonhole and with an unfortunate tick of my hand cut a huge hole in there where it wasn’t supposed to be.

I’ve added a leaf where the hole was. So it looked almost planned.


Third try – just right
On the third try I’ve tweaked my pattern a little. I kept the thicker interfacing piece out of my seams (so I’ve cut it smaller), and I also used sturdier iron on stabilizer (that I bought on AliExpress, it was prickly and smelled like death – so I’m not going to add a link to that).

I did mess up the diagonal line a little and had to throw out a whole embroidered piece, but I replaced it with some real pretty cork.


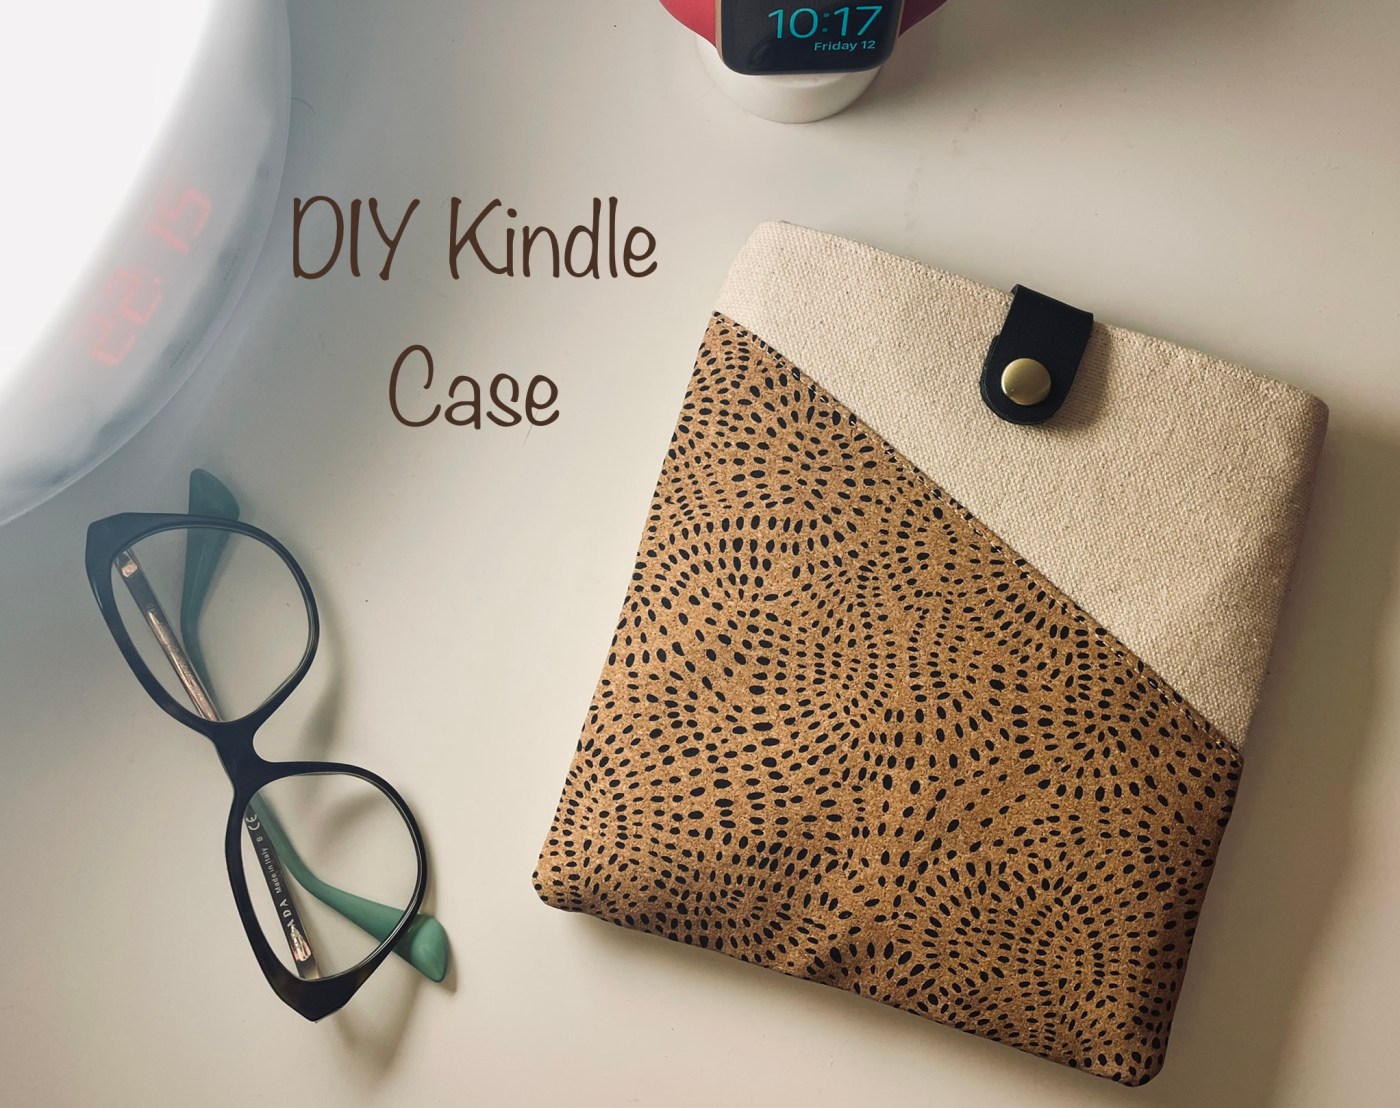
Also bought those cute leather snaps so I wouldn’t have any more buttonhole accidents. I made sure they are not magnetic because I’m concerned it can mess up with the magnetic ink of the e reader.


I really like the final result and I use it daily! A couple of changes I will make in that pattern will be to use a regular interfacing first, keep the rough stabilizer out of the seams and spray glue the thick piece inside. Lucky that my entire family is using e-readers so I can try my formula on a large variety of e-readers!

Let me know what you think! I am planning to reuse that formula with some other kindles – my mom asked for a case and she has a different device, so I am curious to see how it will fit. With some of the faux leather I have in my stash I am sure it will at least look good 🙂
