This post contains affiliate links. If you use these links to buy something I may earn a commission. You can read my full disclaimer here.
When I started sewing from PDF patterns, I’ve developed my own rhythm and method – I use the services of a small local printshop to order my A0 patterns. They are really great, I send them the files, get a quote, pay through e transfer and my prints are waiting for me in a box – completely contactless and covid safe transaction. Also I feel better doing that because I’m supporting a small business.

Anyway, those A0 prints are not cheap – and I don’t cut into them. If the size will be wrong or I’ll need to do alterations – I prefer to keep the entire thing for future use. I also make things for my sister who’s a couple of sizes smaller than me. So overall having my bucket of A0 patterns is super handy.

What I do then is tracing the size I want from the A0 paper to tissue paper and cut into that. Those tissues I save in a folder so I can make multiple copies of the same garment. The tissue then goes to the fabric and I cut around it.
That process is soooo time consuming and I have to be honest – that’s my least favorite part. I hate it. So I think about ways to make my life easier here. First step – buying a larger cutting mat. That is done. I also have a rotary cutter already from my quilting days, I just got some replacement blades to make it super sharp.
Second step – get more appropriate weights. The ones I have are tuna cans but then I eat the tuna and I’m left with soup and beans and those are big and clunky and I keep knocking them off the table while tracing/cutting.
I saw people using washers as weights but then I saw in one of the sewing groups I’m in those incredibly cute donut fabric weights!! I was screaming (in my head) and had to get those. The lady posted that said she made them!!! And apparently it’s super easy. So – off to Michael’s I go!
Wait no. I had to get the washers first.

I got those in Rona. I like the flat ones – those would be donuts. But I also got those taller ones for – wait for it – sushi pattern weights! It was just slightly annoying going there, as I was alone and I was asked 4 times by 3 people if I needed help. God forbid a woman in a hardware store! The horror!

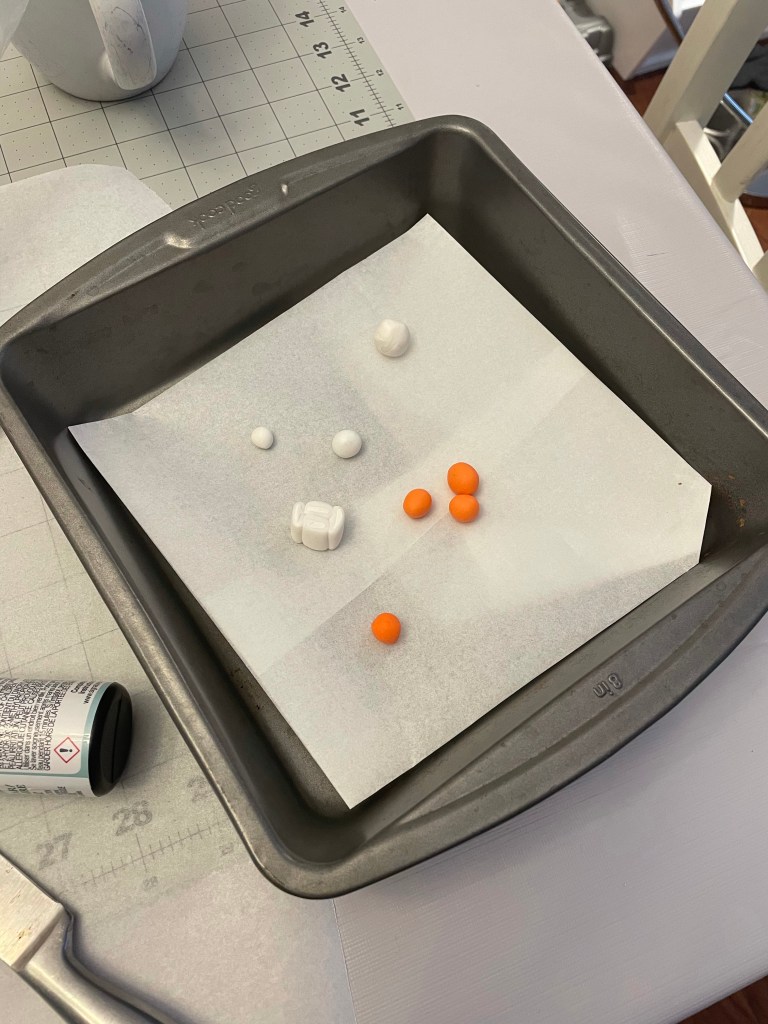
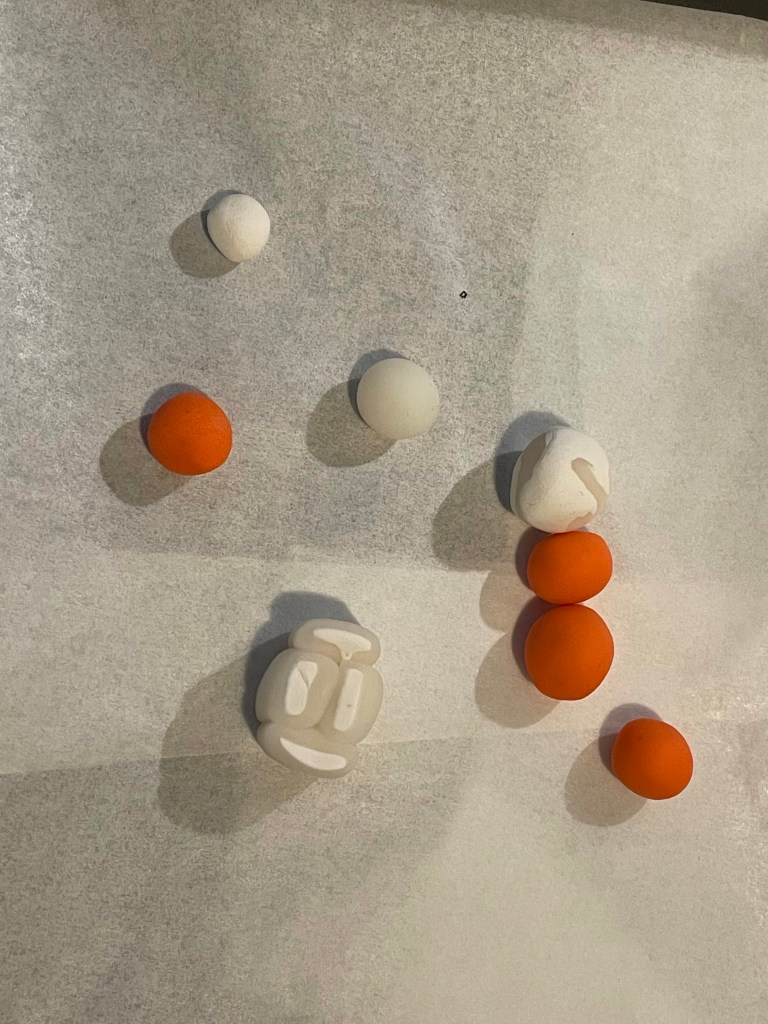
I watched some poly clay videos on YouTube since I’ve never done that before and learned about the different types. Also looked into sushi poly clay as the donuts looked pretty straightforward. Had a test run to check the results after baking
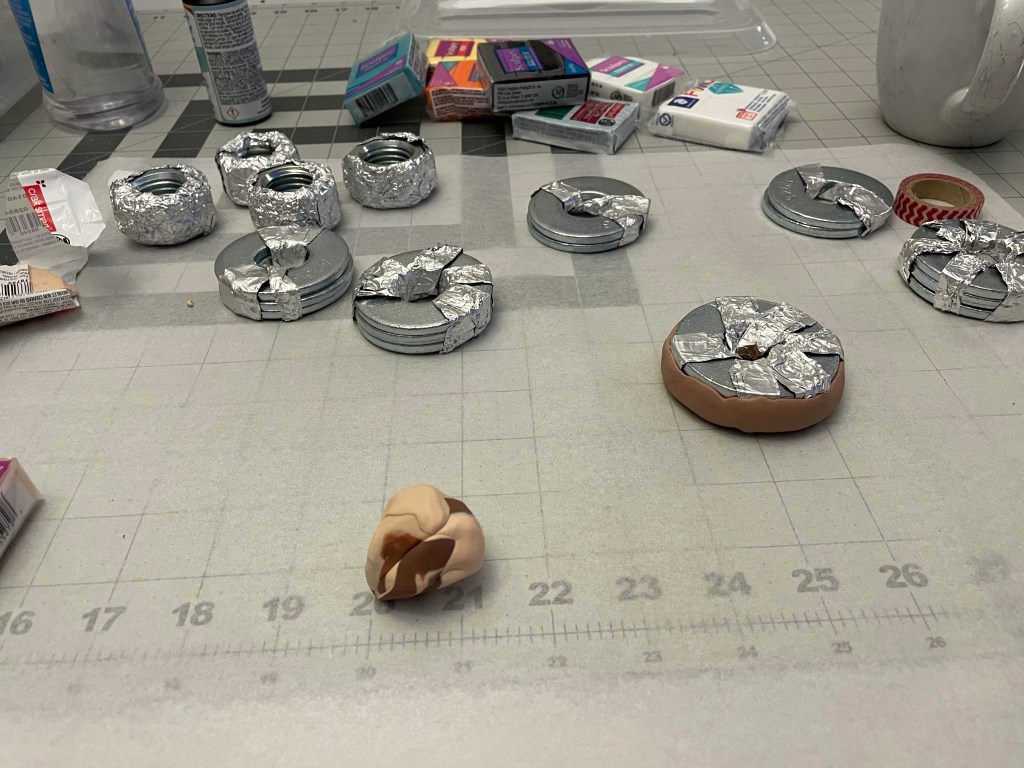
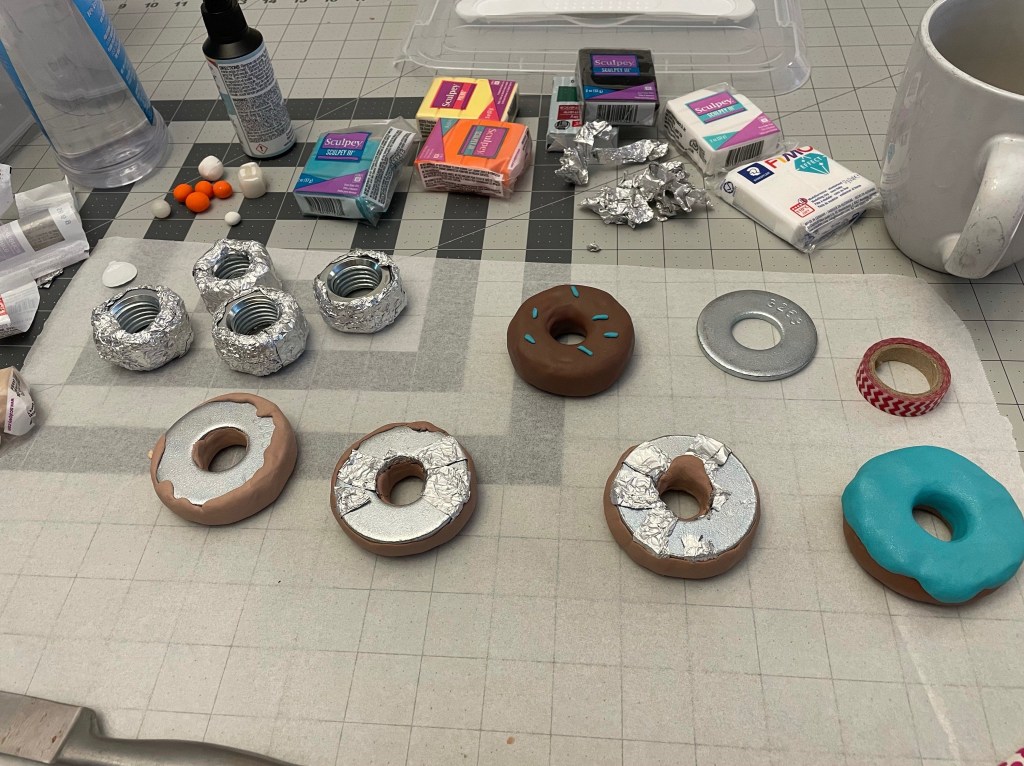
Then I checked the desired weight and stacked my washers together. For a donut I took 3 flat ones. The sushi was supposed to be smaller and used in more narrow places like shoulders.

I tried to keep them together by wrapping aluminum strips around them but honestly it was a huge waste of time. Just wrap them in clay from the start, they will be snug enough. I did wrap some aluminum around the sushi to smooth a little the straight edges and make it look more round.

I put the test pieces of clay inside the sushi and added more aluminum. But potentially you can add ball bearings or anything heavier.
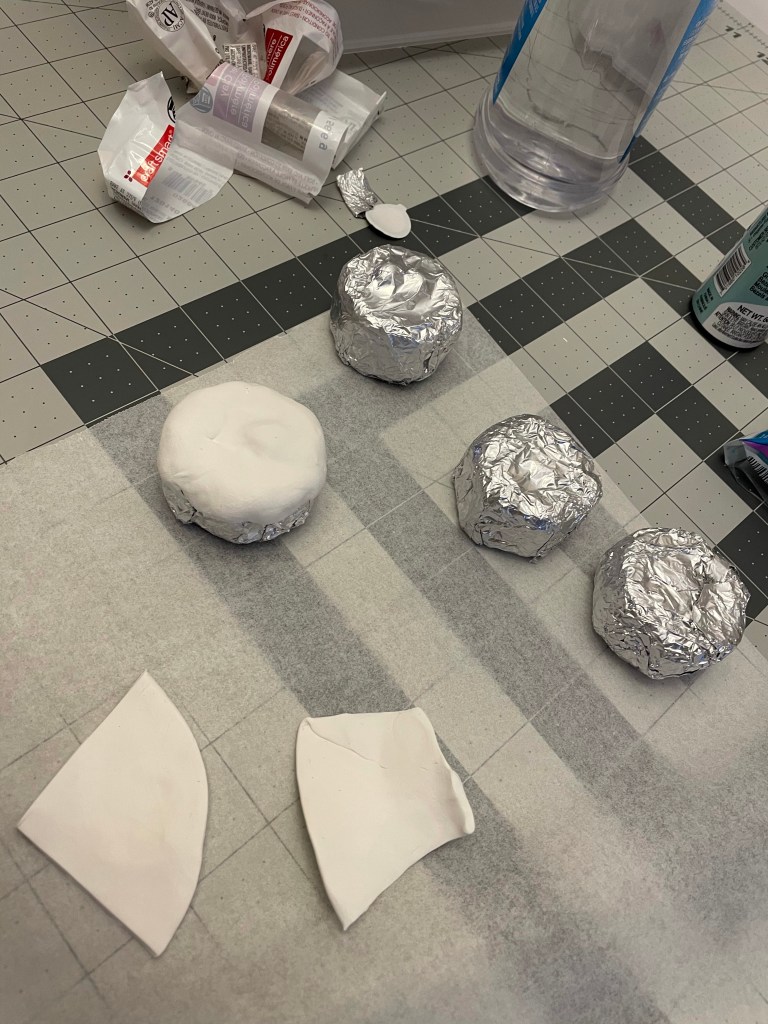
While the donuts were baking, I started working on the sushi. I started by covering the entire thing with aluminum foil and the top and bottom with either white or translucent clay.
For two of the sushis I put the seaweed around first, for the other I did it as the last step. Also added some texture using a ball of foil.


I forgot to capture how I made the rice and salmon and this unidentified green thing. Let’s say it’s “avocado”.

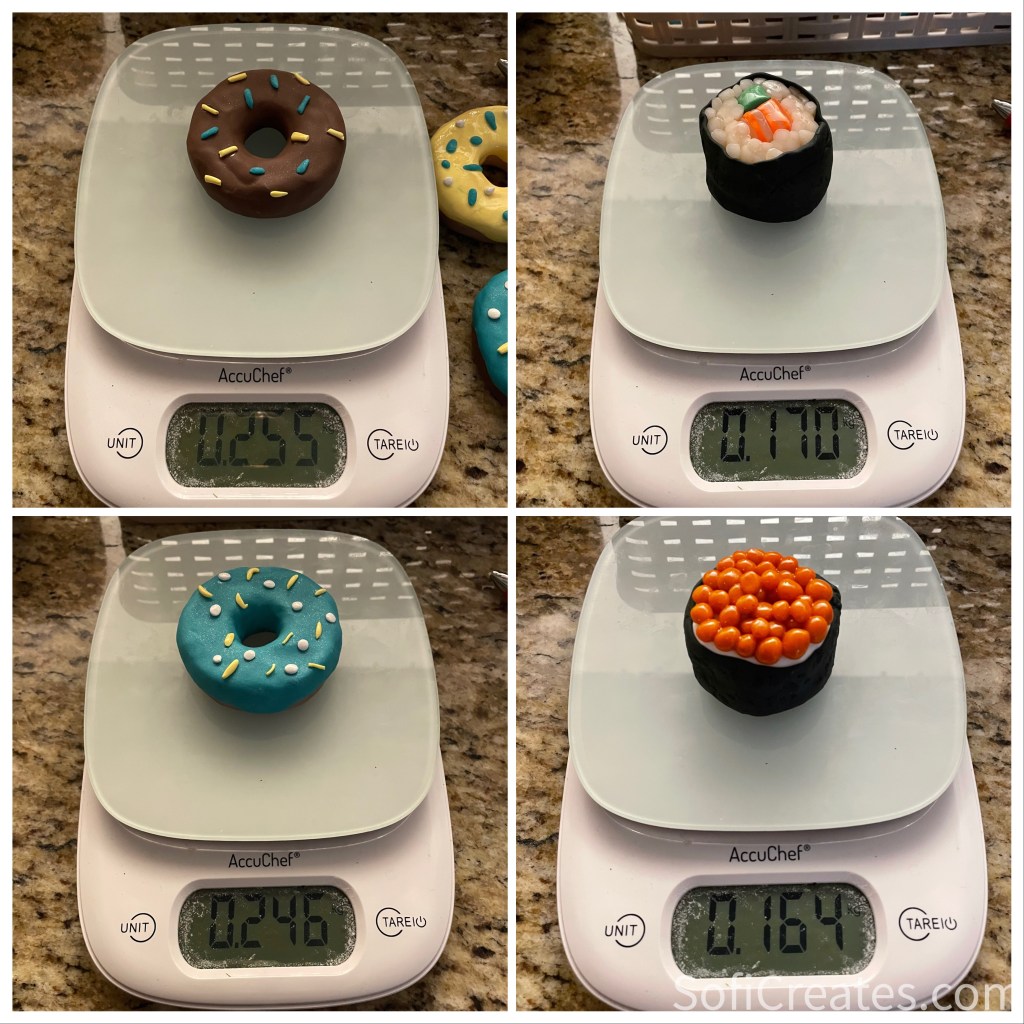
The salmon turned out to be a little “fatty”. Not a bad thing. Omega 3 is good for you 😁
After everything is baked for the recommended time, I added some resin glazing that cures under a UV light that I had from doing my own gel nails.

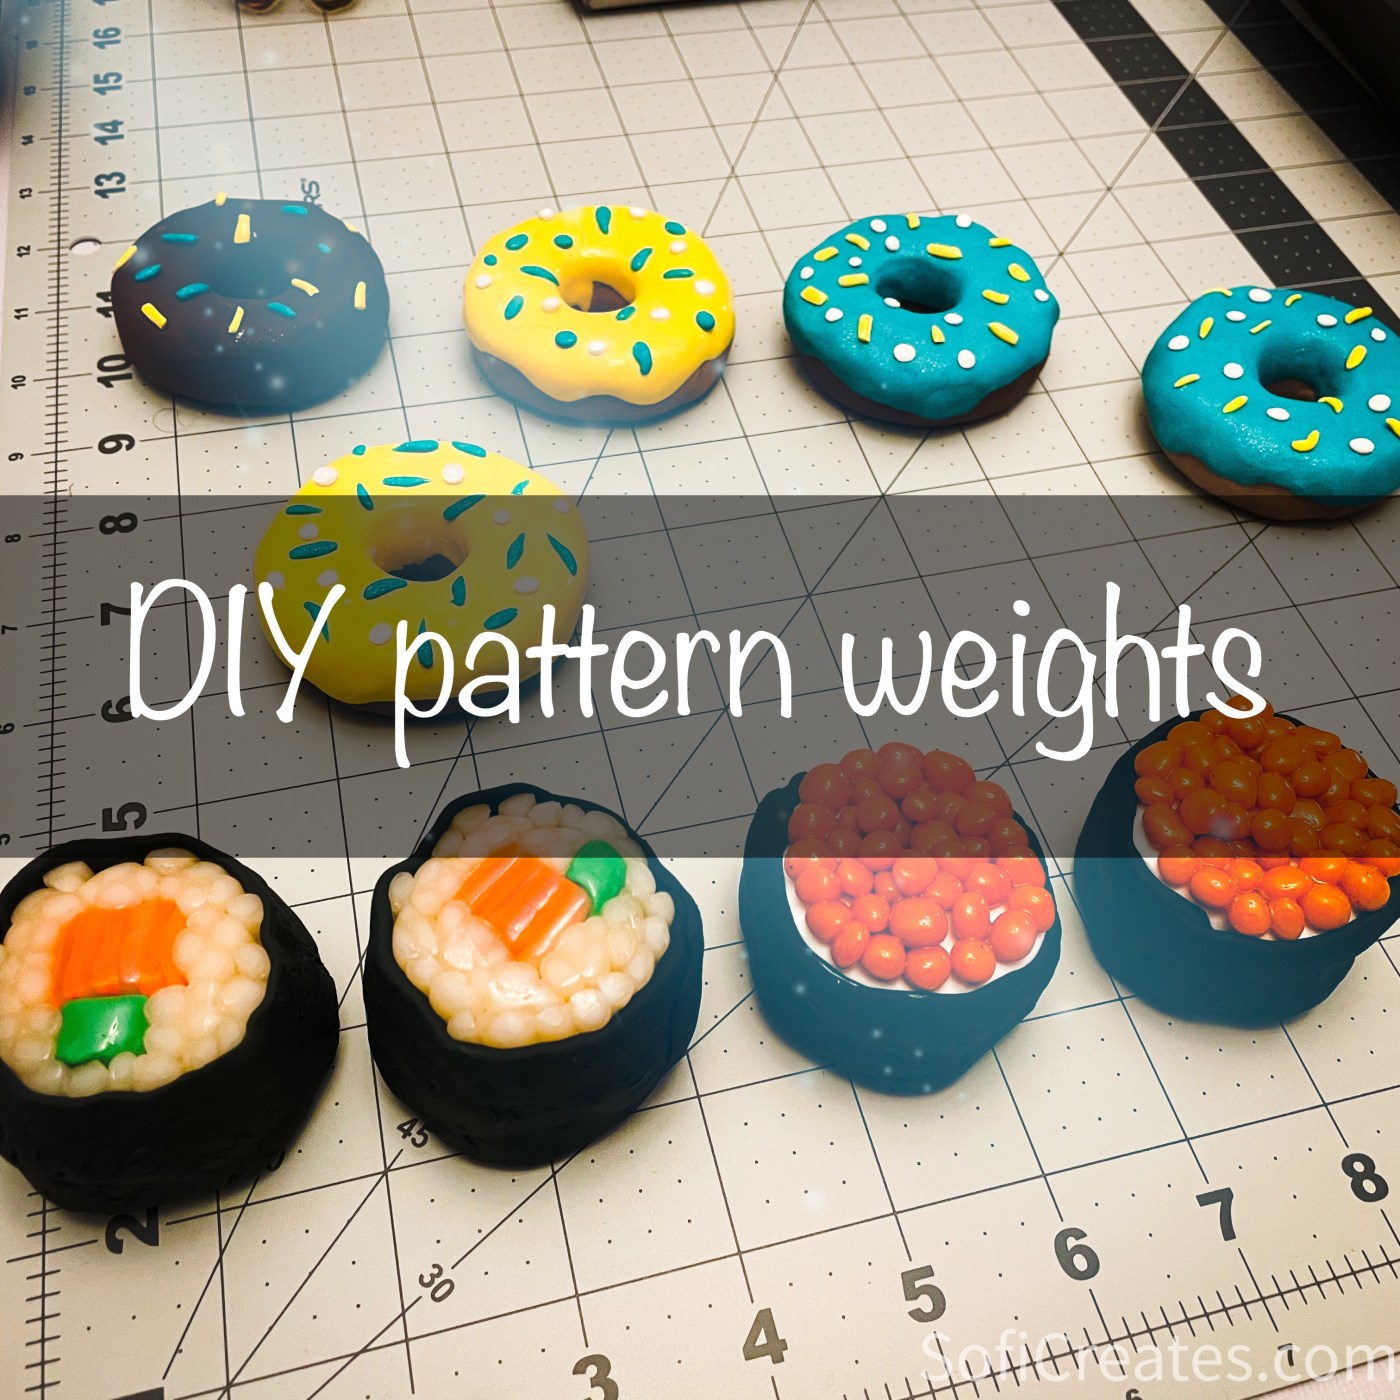
The final result!!!

I like those a lot! Of course they are far from professional polymer clay sculptures but hey, they do the job perfectly! I’ve already used them while cutting my Jasika blazer lining and interfacing pieces and it took me third the time it would’ve taken me using chalk scissors.

And of course Ethan joined the party
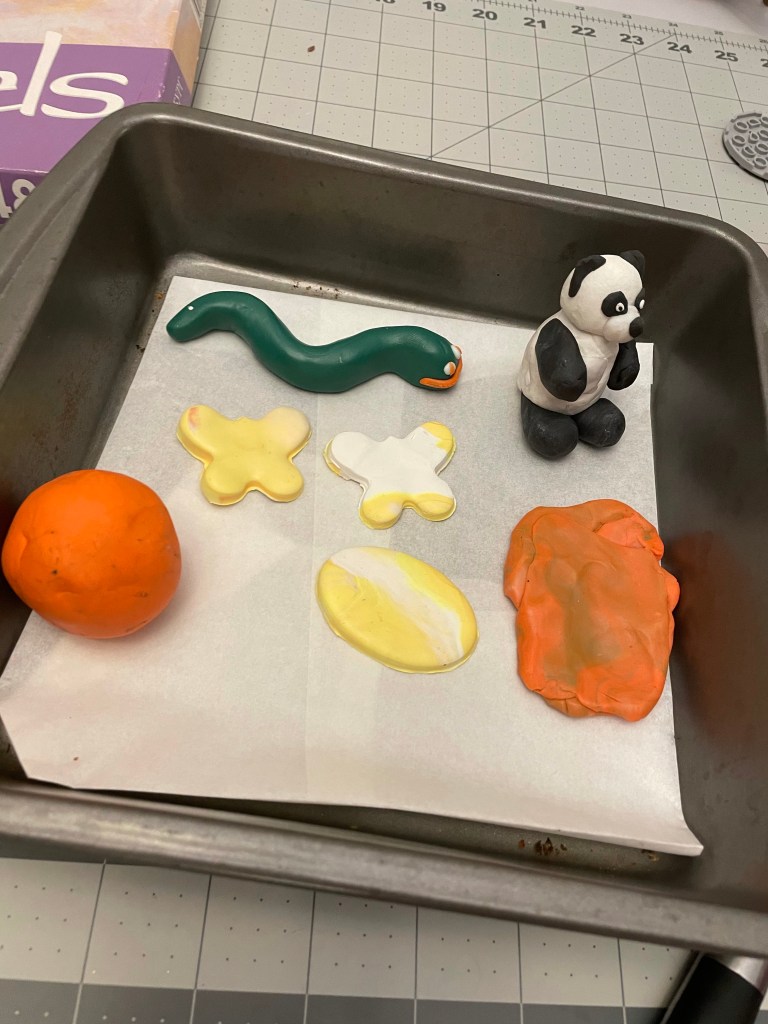
After that experience, polymer clay became a staple in our house and later on I ordered some more clay and even a book to build different silly figurines. Ethan loves it!
