
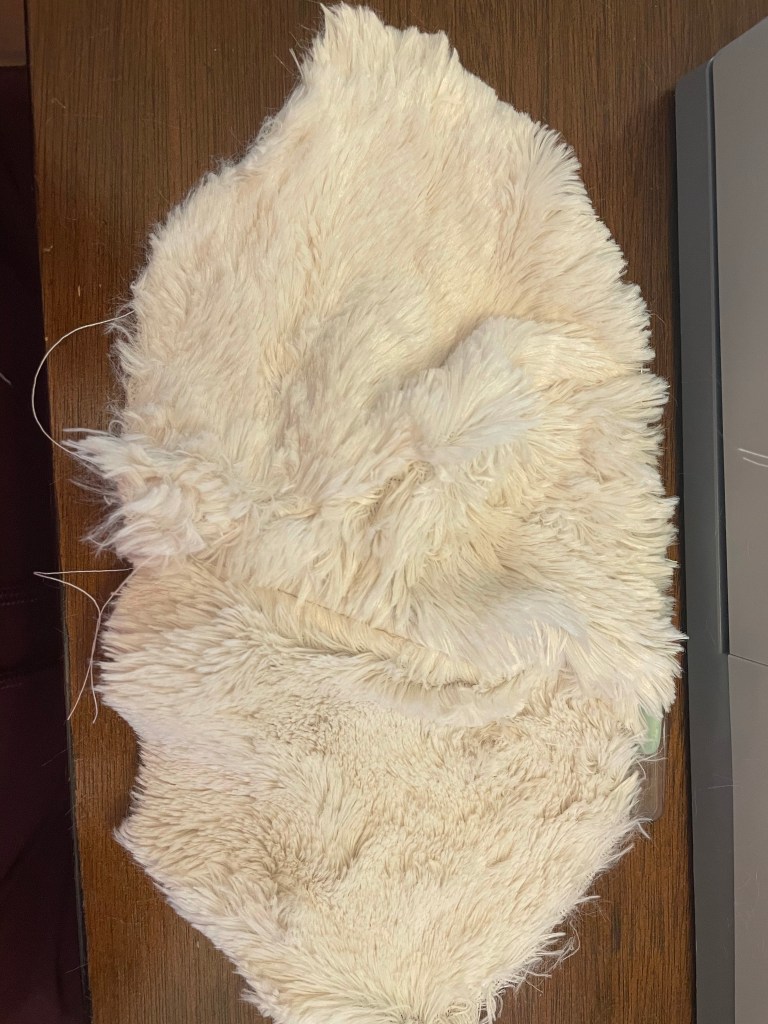
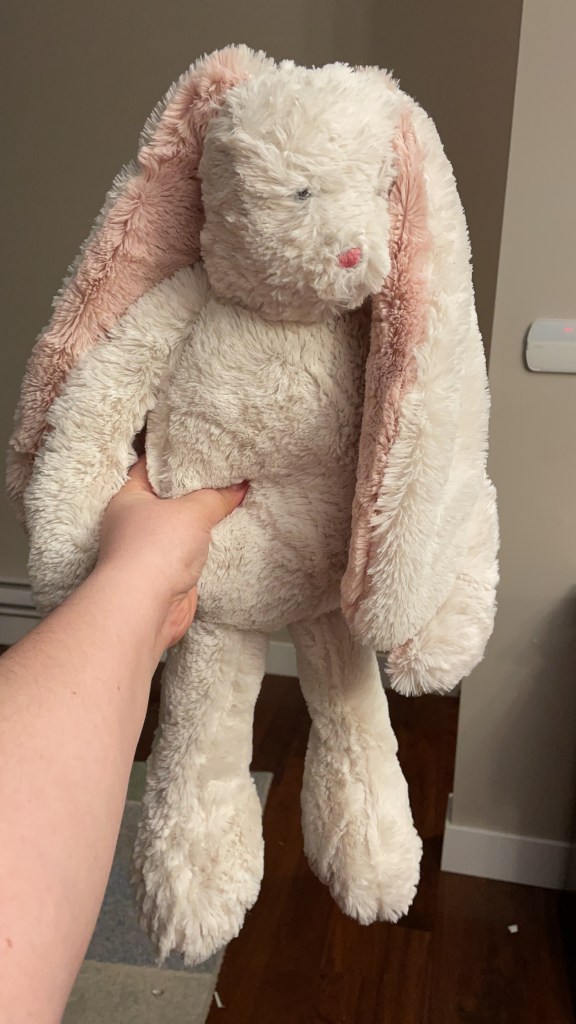
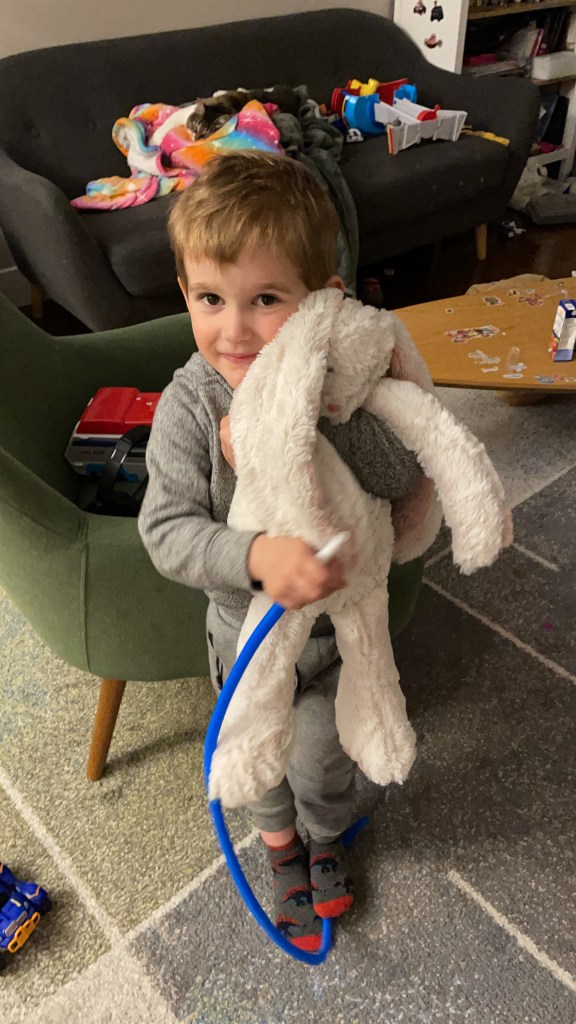
It’s Easter, and it’s time to get sewing. I’ve always been interested in sewing toys and I had some experience with that too. I also set up my projector and had this bunny cut out as a first project to try. I made it quite large, but the cool thing about projectors is that you can make them as big or small as you like.
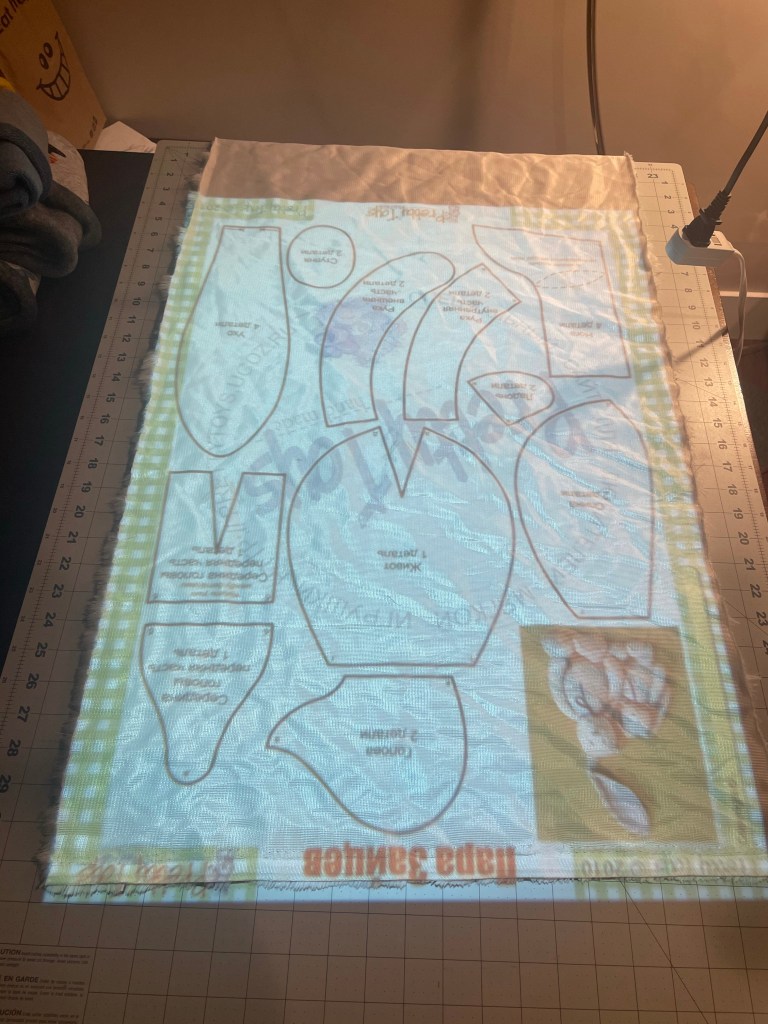
I found that great pattern in Pinterest a while ago. It looks really cute and sweet, but I didn’t see any instructions with that pattern. The instructions are mostly letters on the pieces that indicate what is connected to what, but no sequence or anything. Since I know Russian – I checked the original website. This PrettyToys website has hundreds of free toy patterns but no written instructions. So I decided to write the instructions myself!
I watched a bunch of tutorials online for teddy bears and I’ve got the high level concept – the bunny would be built in separate pieces. The hands and legs will be left empty and be stuffed when the bunny is assembled.
Let’s get started then!
Cutting list

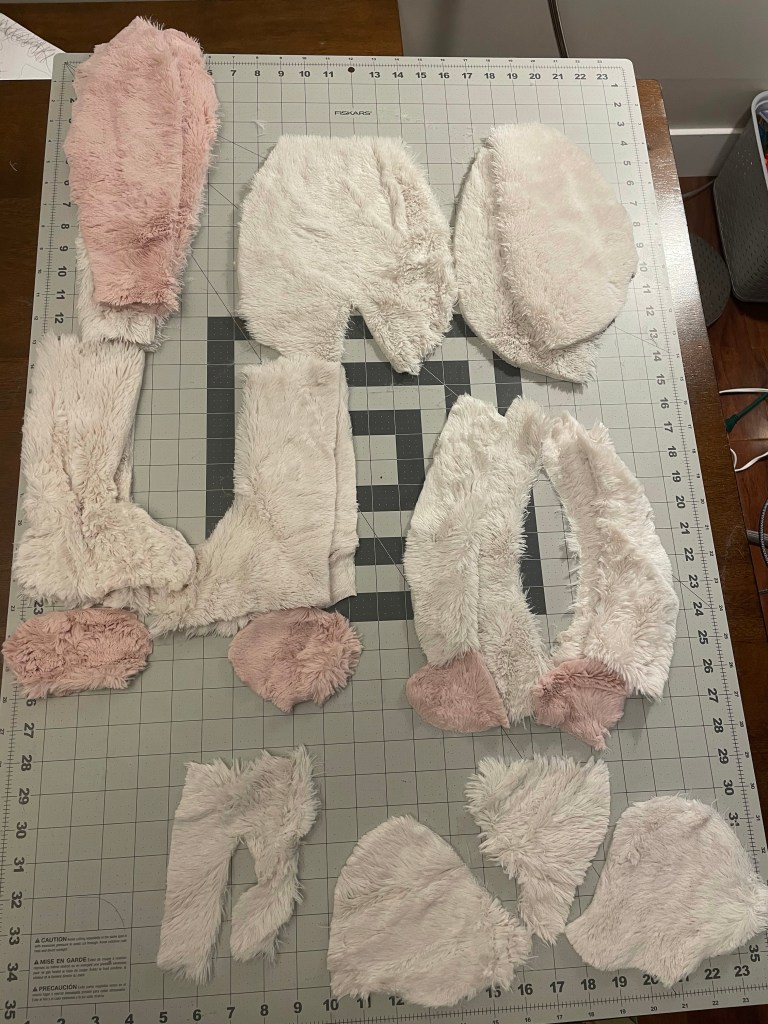
I’ve added letters to the original pattern to make it easier to cut. Some of the pieces just indicate to cut twice but it’s supposed to be mirrored. I was using a fluffy fabric, so it’s important.
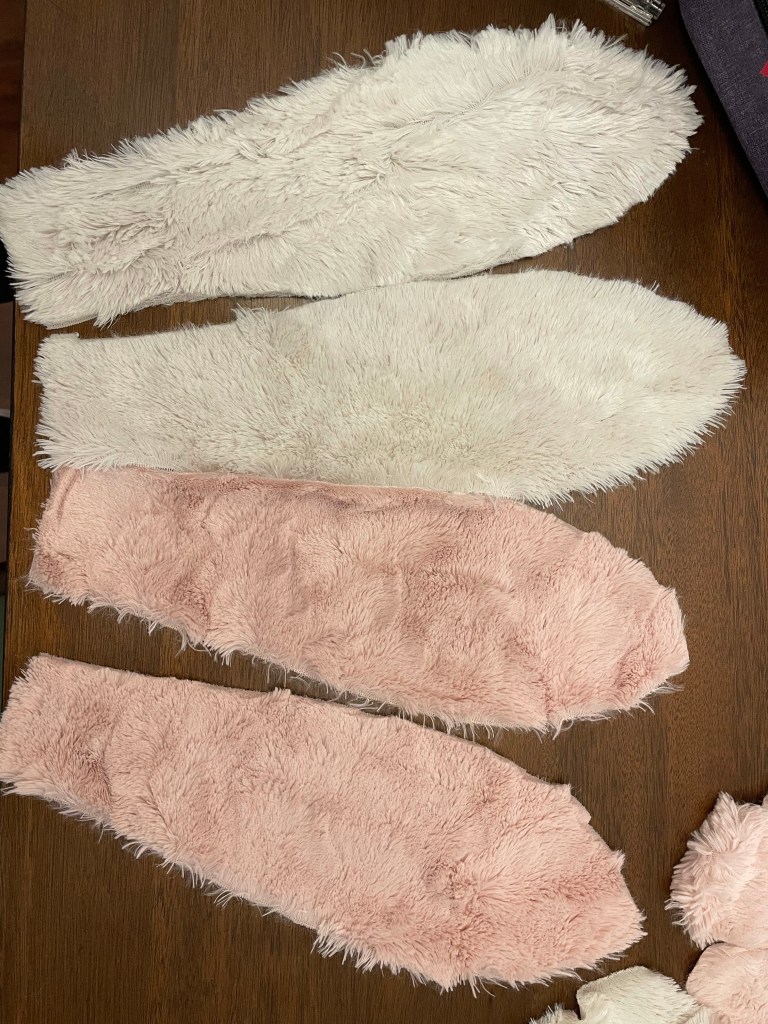
A – head, 2 mirrored pieces
B – forehead, 1 piece
C – stomach, 1 piece
D – 4 pieces overall: 2 pairs of mirrored pieces. Internal sides can be done with a different colored fabric.
E – internal part of hand, 2 mirrored pieces
F – external side of hand, 2 mirrored pieces
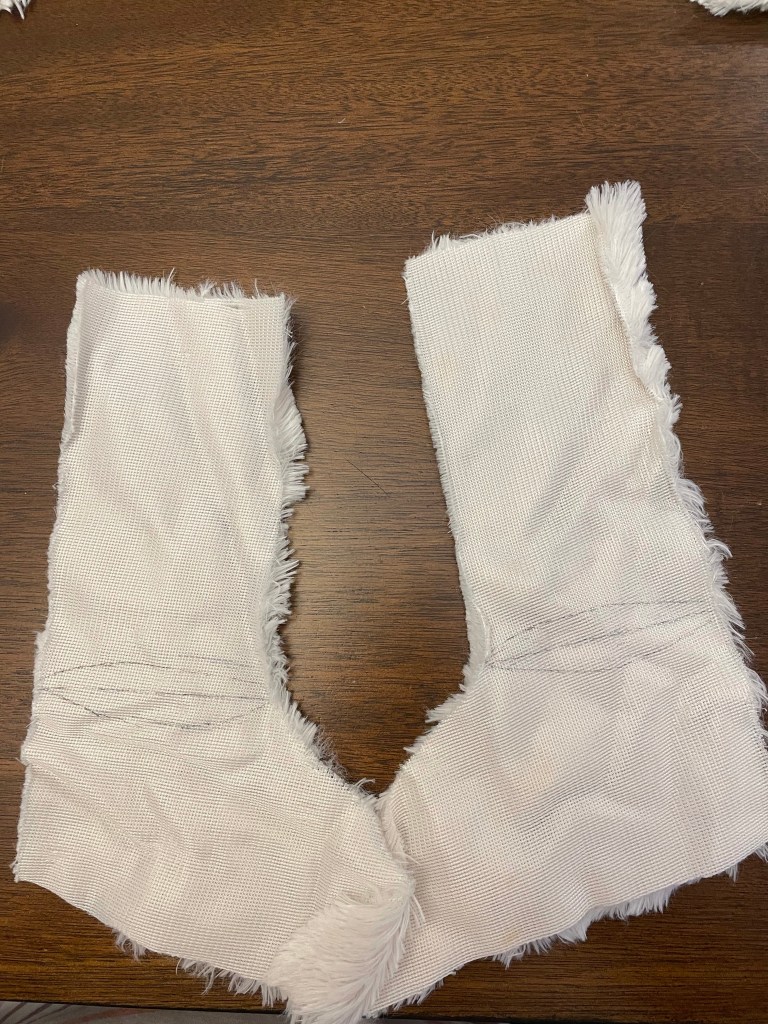
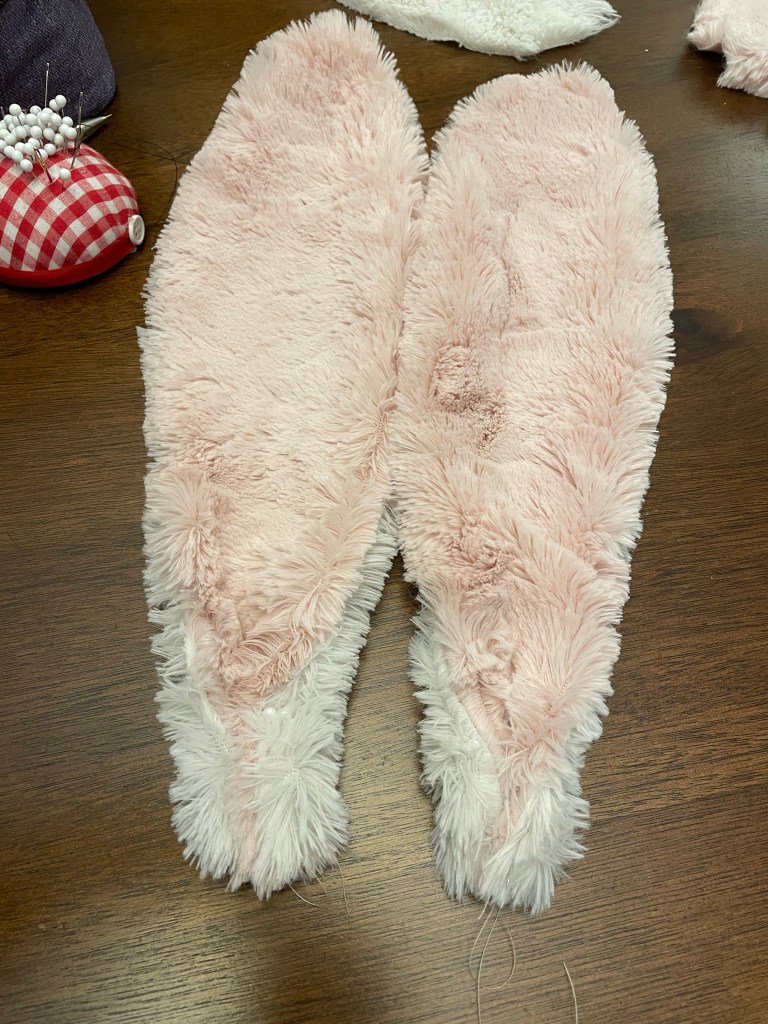
G – legs, 4 pieces overall: 2 pairs of mirrored pieces
H – feet, 2 mirrored pieces. Can be done with different color fabric
I – back, 2 mirrored pieces
J – palms, 2 mirrored pieces, can be done with a different color fabric
K – back of head, one piece
Instructions
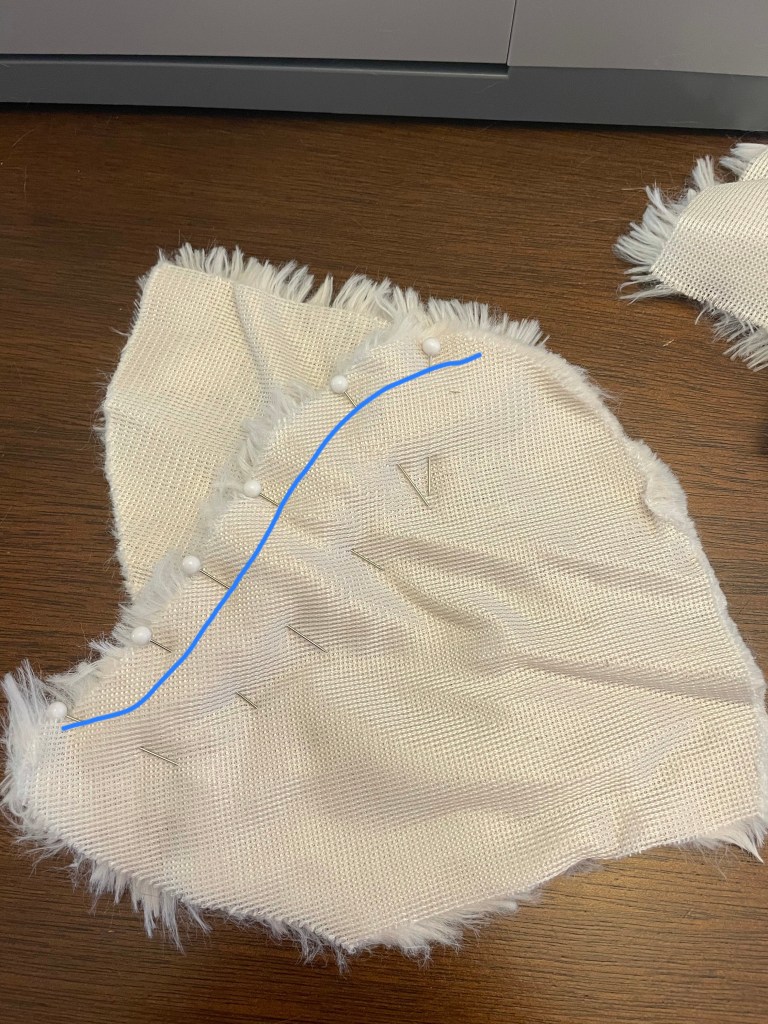
1. Close Darts
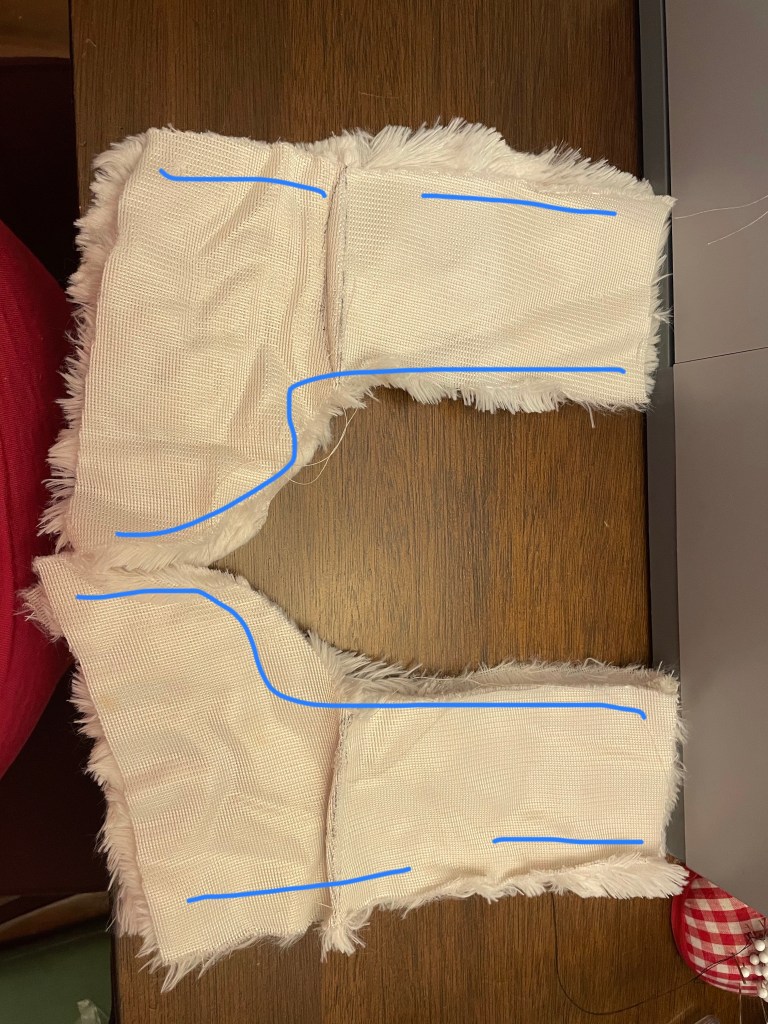
Close the darts on the stomach, back of head and legs (pieces C, K, G). The darts on legs will be on the inner side of leg, so each leg will have a darted pieces and a non darted piece. Make sure you’re closing the darts on mirrored pieces.


2. Make ears
They are slightly asymmetrical. Connect right sides together and sew around, leaving bottom open.
Flip inside out. Fold the corners of the ears to the inside and baste together.
3. Prepare Hands
With the thick side of the bottom, connect the palm to the inside of the hand (E+J)

With right sides together, connect the outside side of the arm to the inside, leaving the top open. Leave another hole on the side for stuffing.
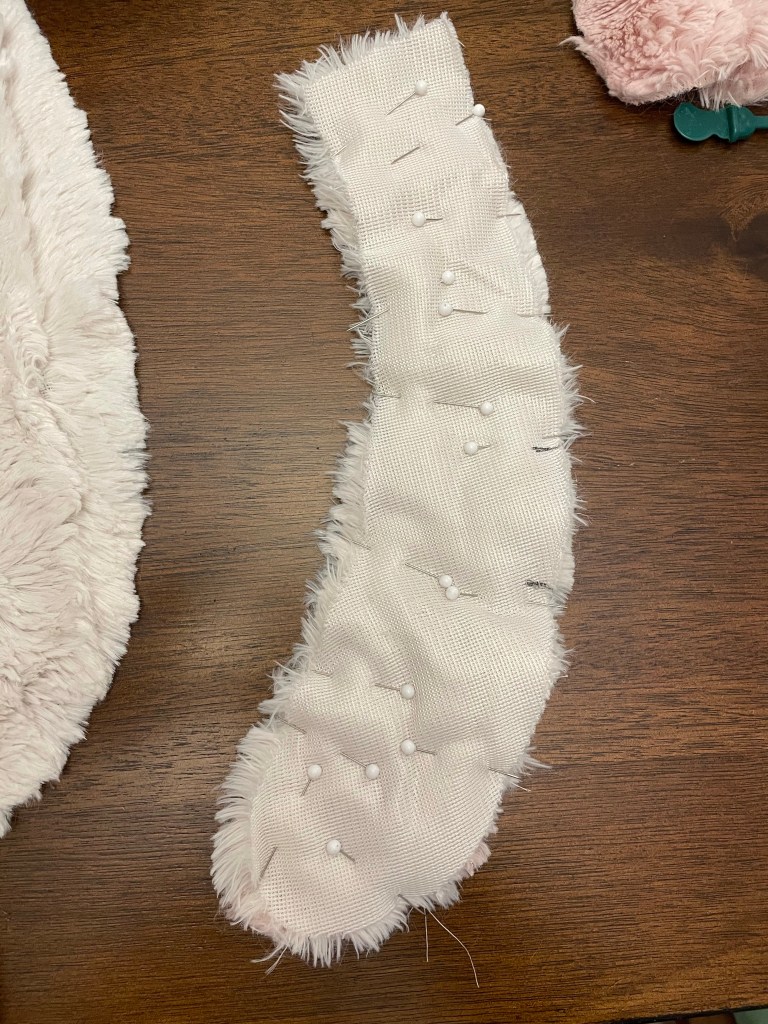
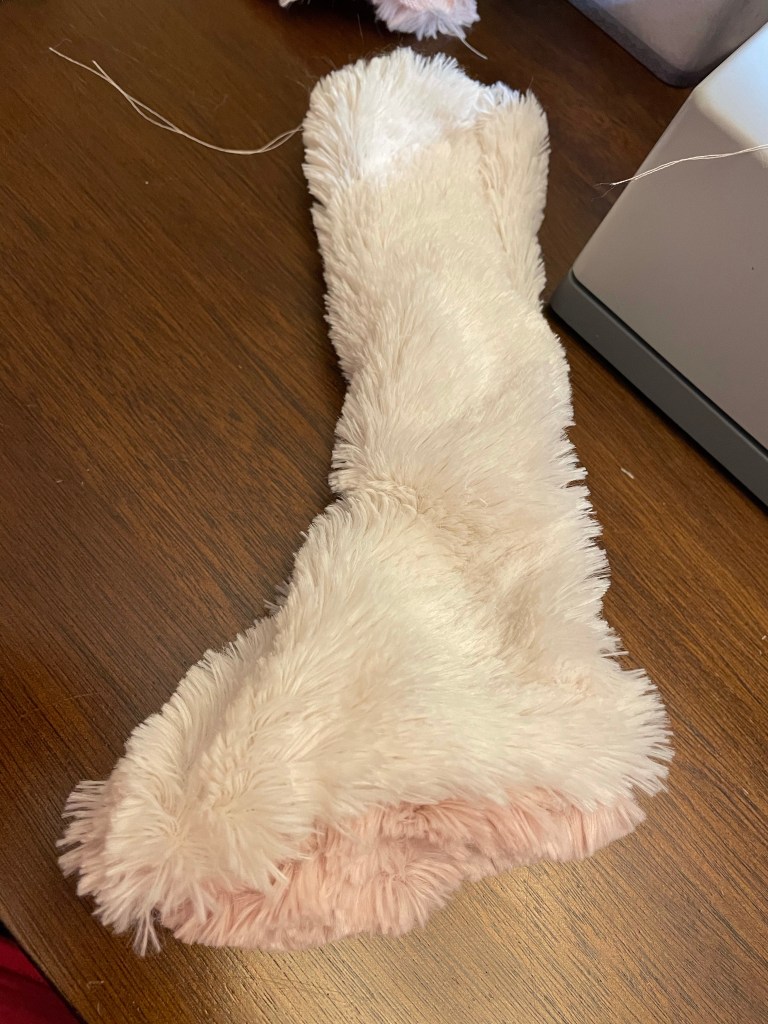
4. Prepare Legs
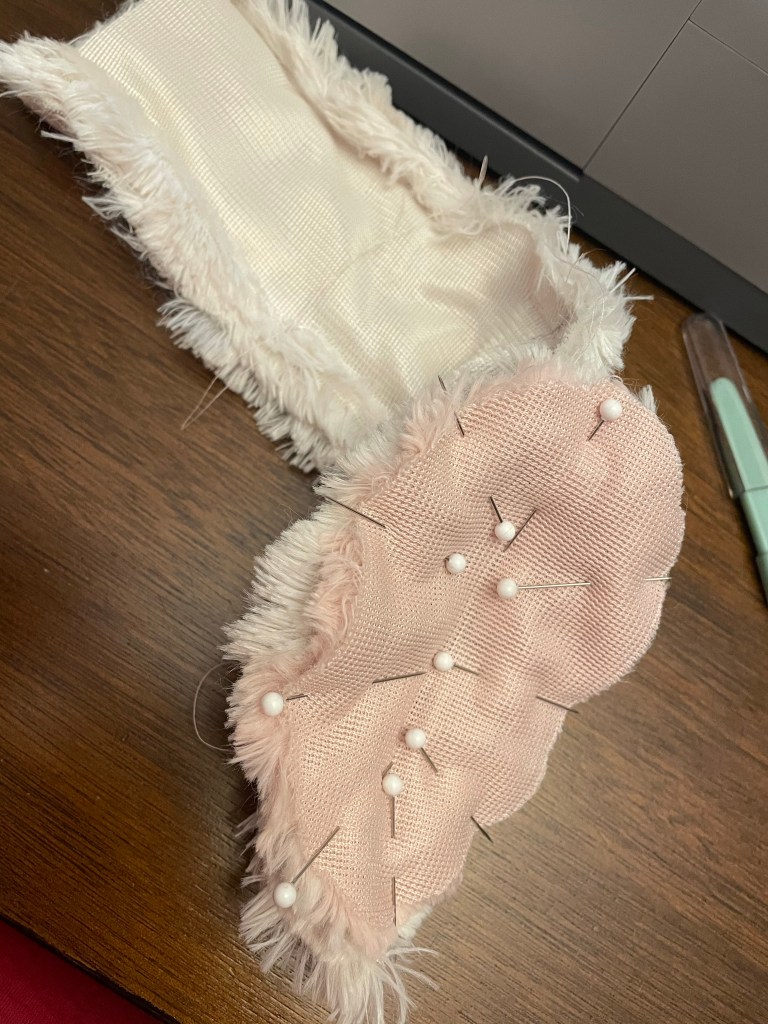
Sew internal, darted, side with the outside piece, leaving 3 openings – at top, bottom and a hole for stuffing in the back (pattern pieces G).
Pin the foot to the leg (pattern piece H) with right sides together and sew around, carefully, not catching anything in the seams.
5. Tail
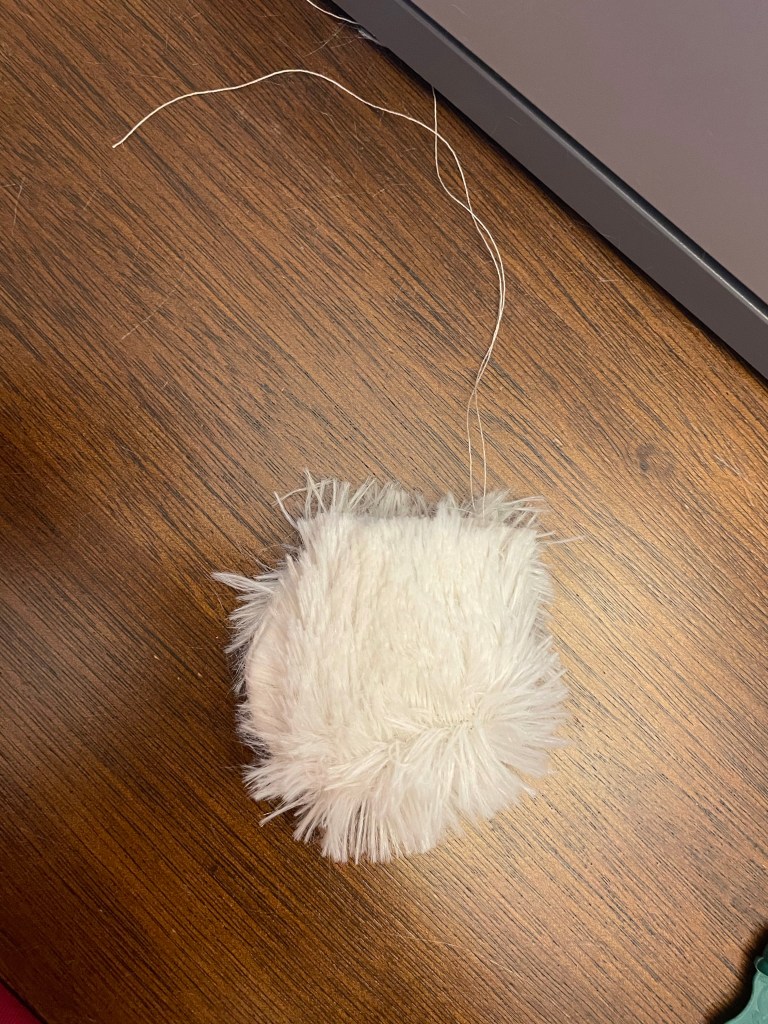
The pattern doesn’t come with a tail, so I made one. I sketched one on paper and cut 2 mirrored pieces.

I stitched them 2 sides together and stuffed a little bit. Pinned the opening so the stuffing will not escape.
6. Back
Connect the more straight pieces of the back (pattern pieces I) together, sandwiching the tail in the bottom of the back. Leave a relatively big opening on the back, since we will be turning the bunny through that hole and also stuffing mostly though there.
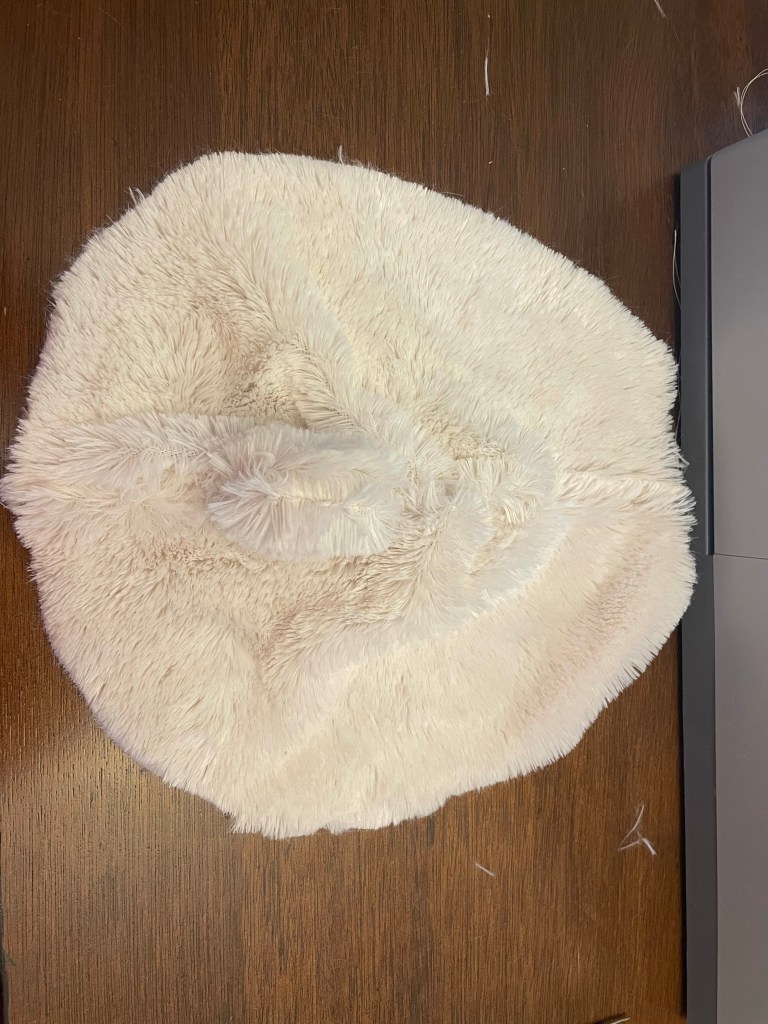
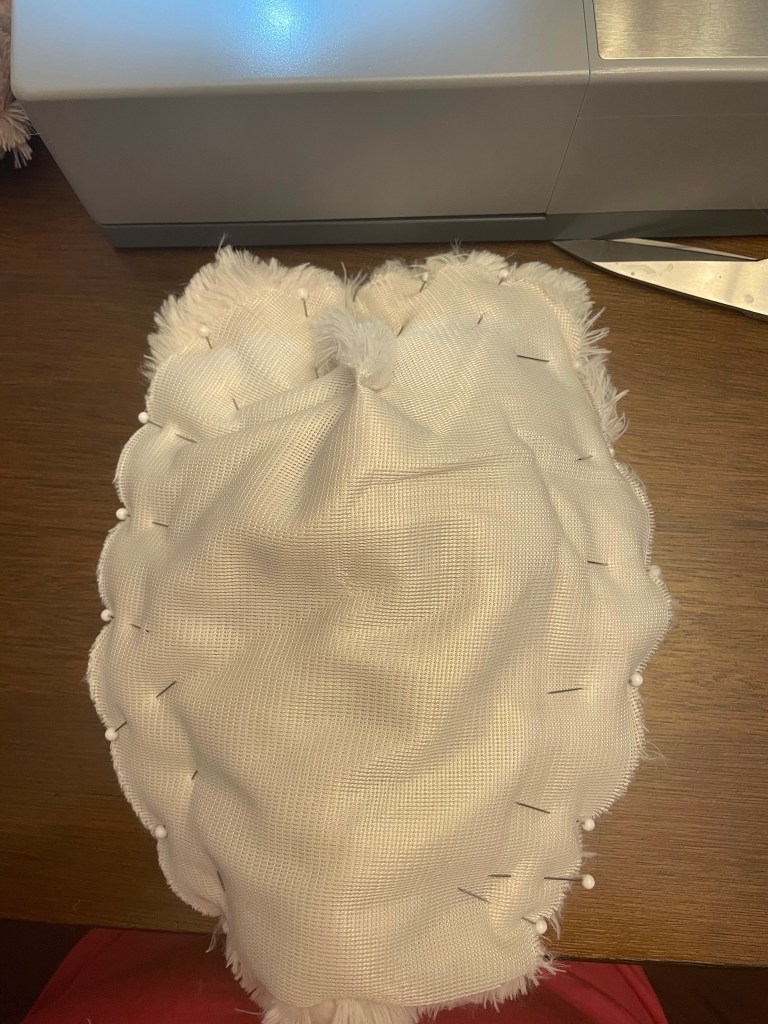
7. Head
Connect one of the A pieces with B, right sides together, connected at the “nose”. The flat side of B supposed to be at the top
Connect the other A part to the other side of B, right sides together.
Close the bottom sides of the two A pieces together. This will be the “chin” area. Make sure to keep the neck and back of head open.

At this point, the nose area will form a little triangle. We should add the facial features now – if you’re using safety eyes and nose. I embroidered the facial features. Embroidery can also come after stuffing.


Now we need to close the back side of the head, sandwiching the ears in between. Connect the flat, in-darted side of piece K with the flat side of B, sandwiching the ears in between. Make sure to secure the seams well, using a short stitch length and even running them a couple of times.

Now connect the long sides of the back with the openings of A, leaving the neck area open. Make sure to run it flat and not catching the ears in the seams.
8. Body (and attaching legs)
Now we will assemble the body, meaning connecting the stomach to the back, sandwiching the legs in the bottom. We will connect the legs perpendicular to the seams, so the feet will be pointing forward and not to the sides.

To avoid any mistakes with the directions, pin the legs to the right side of the stomach and check if it’s working when you straighten the legs.

Make sure you’re pinning to the darted side of the stomach!
Add the back on top, matching the tail side to the legs side, and sew around, leaving only the neck side open. Make sure to keep your seams flat, not catching the legs in the seams.
After you’re done, flip it inside out for a second to check if everything is connected well, you have no holes and nothing caught in the seams.

9. Attach Head (and hands)
The hands are attached to the neck opening. Turn your body inside out again and place the head and ears inside. I suggest to connect the hands to the head first so you will not make mistakes with directions. The head is not flipped inside out, since we are connecting right sides together. Match the back dart of the head with the back seam and start pinning around, moving the hands pins as well. This is the trickiest seam of the entire bunny, as we have the hands, ears and legs all inside of the bunny, so make sure not to catch anything you don’t need to.
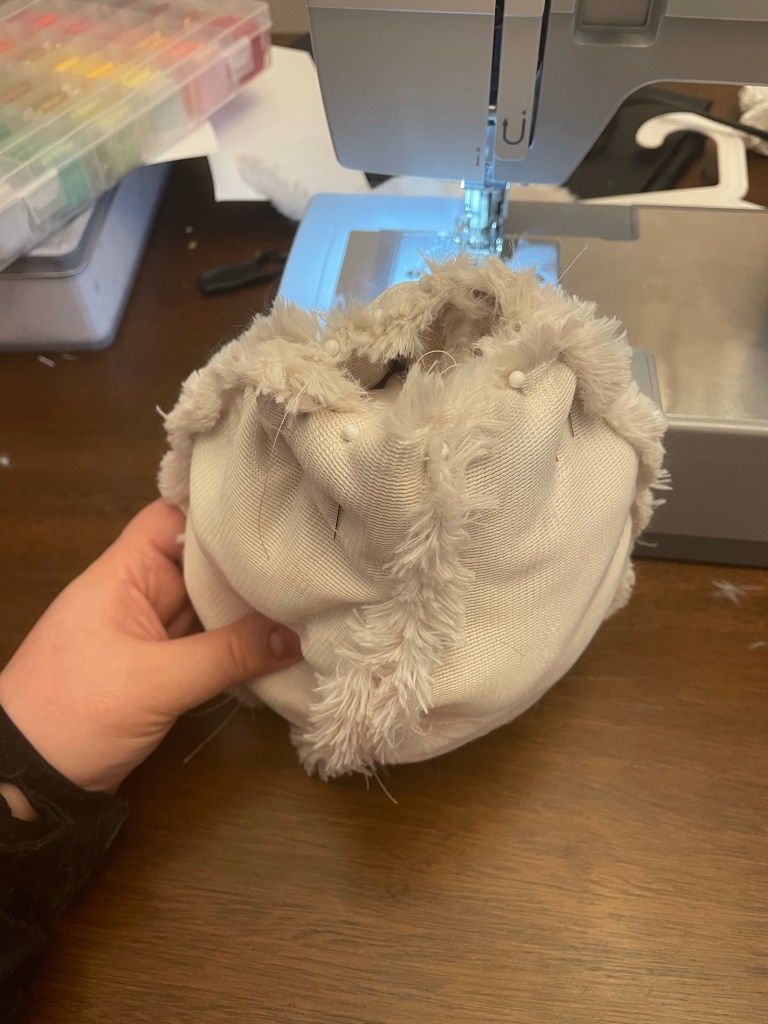
Switching to a zipper foot can be useful here. It didn’t work for me as my fabric is very thick, but I did take out the accessories box so it will be a little easier to manipulate the seam.

Make sure everything is connected from both the inside and out, and turn your bunny inside out through the hole in the back.
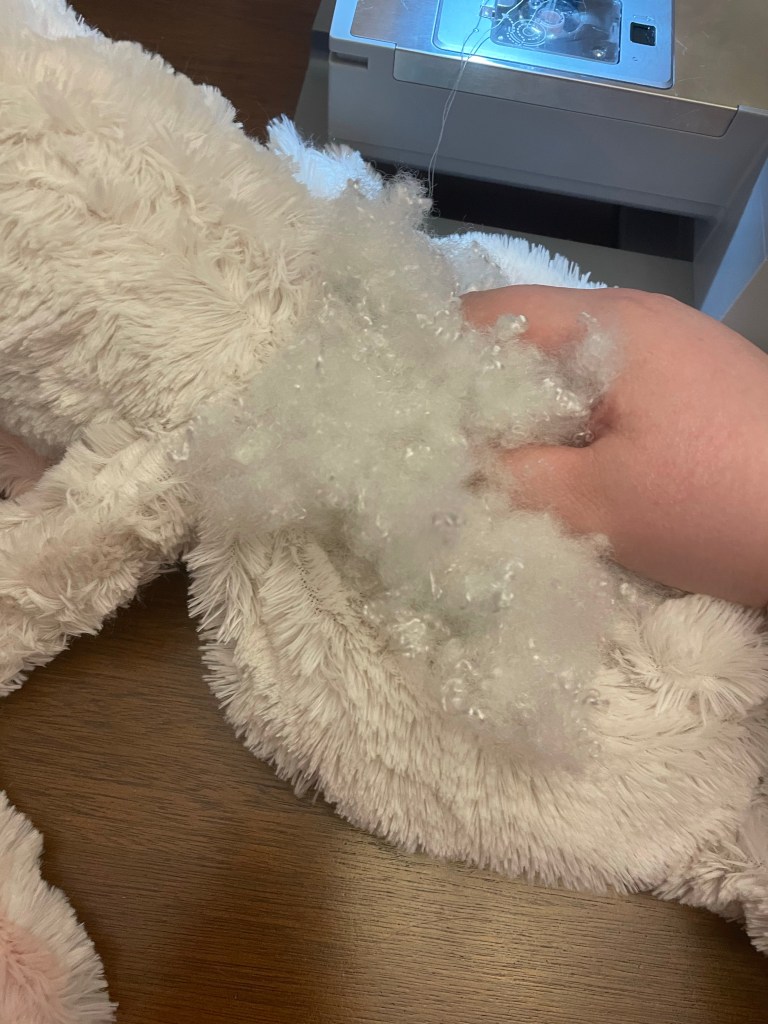
10. Stuff!
You suppose to have a deflated sad toy like this now:

Start stuffing from the back. Make sure to get the head first and push the stuffing to the nose, to keep us firm. Make it as soft or firm as you want but take into account that it will deflate with time.

Close the stuffing holes with a hand ladder stitch.
Do the same thing with the legs and hands and you’re done!
Tips and tricks
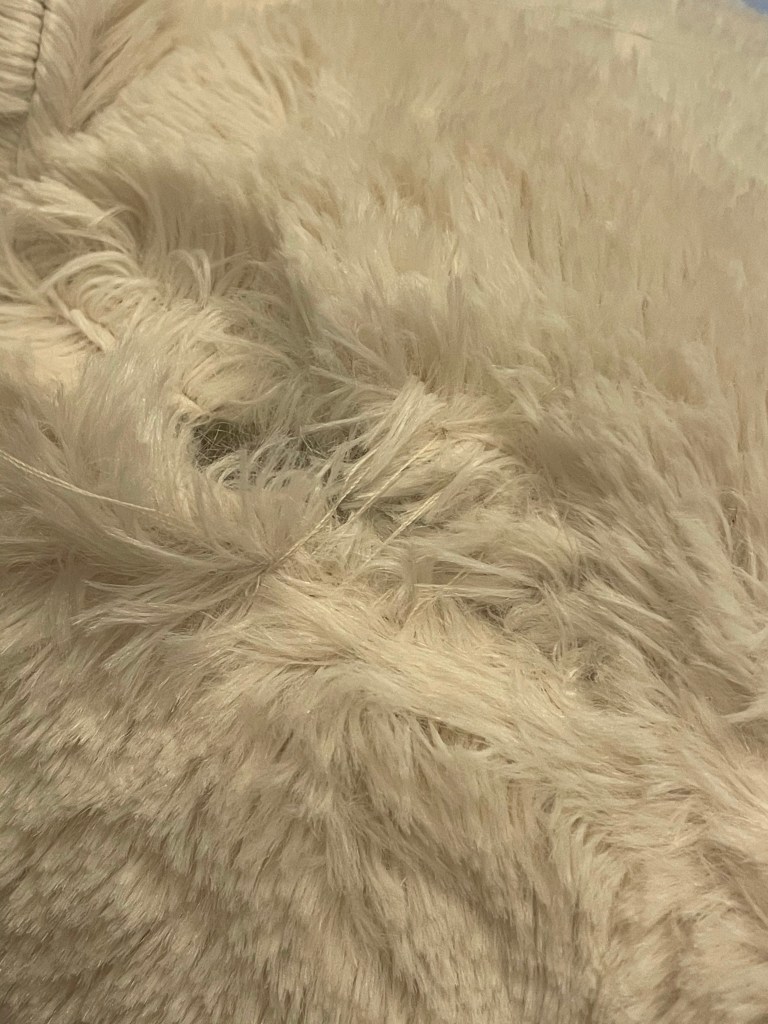
- If you’re using a fluffy fabric like mine, it can be very forgiving in the seams, as it doesn’t show any minor imperfections. But the fluff can be trapped in the seams so you can use some sort of wooden or plastic stick to fluff the seams again.
- Putting the cut fluffy pieces in the dryer for a couple of minutes will remove most of the fluffies.
- Don’t use fabric softener on this fabric! Not in the washer, not in the drier. It turns the fabric into really coarse and it’s losing its softness.
- For slippery fabric like that, use a walking foot.
- Use a short stitch length to add strength to the bunny, especially if you’re planning to gift it to a child who likes to play rough.
- Also, don’t forget to backstitch on every start and end, especially in the stuffing holes.
- The seam allowance is flexible – use what you feel comfortable with, I used 1/4 inch approximately.

Hermoso este conejito. Y hecho en ese material que lo hiciste, lo hace aún más grande y esponjoso. Me ha encantado, es tierno y delicado.
Muy bueno el tutorial.
Me haz animado, a hacerlo a ver cómo me queda.
Un saludo.
LikeLike
Hi .. this is so cute!!! Is there a link to the pattern please?
LikeLike
Hi Karen!
The pattern is the image, there was no actual instructions on the website so I wrote them here in the blogpost
LikeLike
I really appreciate the hard work in putting this together. I’m having a really hard time on the head and body… Trying to connect “K” to “B”. Then trying to get the body and legs.
LikeLike
K to B is just a straight stitch with the ears sandwiched together. And I agree that connecting the head to the body is the trickiest part – you will need to smoosh all the bunnie’s limbs into its body and carefully only sew the seam you need without accidentally catching the ears in the stitch
LikeLike
Hi Karen
Love this bunny!
I saw this bunny under your name on pinterest
I have tried to find the pattern on pinterest and their website but it seemed to only go to Pretty Toys 2009 ?
Was the original pattern printed out on an A4 sheet so as to get the correct size if I increase the one on your blog which is on only half a page?
Thank you for the instructions in english.
Kind regards,
Aletta
LikeLike
Hi! Thanks for the pattern, and the instructions. This bunny is soooo cute! I’d like to make a bunch of Memorial bunnies out of my mom’s clothes and I think this would be a great pattern to use….
The only problem is…I don’t know how to sew on a sewing machine! (Which no one can believe since my mom was SUCH an amazing seamstress) 🤷♀️ If I were to hand sew them, what kind of stitch would I use to join the pieces together (I CAN hand sew! 😁) Thanks! Patti
LikeLike
Hi! For hand sewing use the strongest hand stitch available, probably a backstitch. A ladder stitch for all the holes where you put the stuffing material
LikeLike
You did such a great job when translating and writting up this pattern ! I have downloaded the pattern and have read it over twice, and each time I have found something that I know that I will “be careful to do correctly” based on your great suggestions !!!! Thankyou for your hard work!!!!!L
LikeLike
Ik kan onmogelijk dit free patern downloaden
LikeLiked by 1 person
I am unclear how to attach the arms to the “neck opening.” Could you clarify that for me? Thank you so much!!
LikeLike
Hi! I flattened the arms and sewed them into the neck hole where the side seams of the bunny are – where the bunny’s back is connected to the belly. It really depends on the direction of the arms that you want to have, I suggest to experiment with it 🙂 basically what you will get in the end are arms that are connected between the head and the body, so make sure you’re pinning them in the right order (so the arms will not find themselves inside the bunny’s head lol)
LikeLike
How did you enlarge the pattern? Is that an enlarger I see in the pictures?
LikeLike
Hi! I used a projector and projected as big as I could – the picture covered my entire cutting board
LikeLike
Hello,
How do I get the pattern pieces? I don’t see any place to download the actual pattern.
Thank you
LikeLike
Hi Judith! The pattern is the picture with the pieces and the letters in the post
LikeLike