
This post contains affiliate links. If you use these links to buy something I may earn a commission. You can read my full disclaimer here.
As I mentioned in a previous post, I arranged to have a “cutting weekend” and then sew my cut pieces.

The first project was a Raglan Hoodie for my son. I got the pattern on Etsy, from Made By Me Patterns. She has great stuff, her communication is amazing, the patterns are super clear and have pictures, sizing is accurate and there are even projector files!
I’ve got the fabric from Etsy too. I wanted warm and fluffy fleece, with a cute pattern. I got gray with construction site vehicles, and gray with dinosaurs. For the first one I matched mustard sleeves, and for the second one blue sleeves. I also had some gray cotton lycra I used for the lining of the hood.

Well, everything sounds great right?? The fabric is washed and cut, the machine(s) are threaded. This is what I also thought. But no.
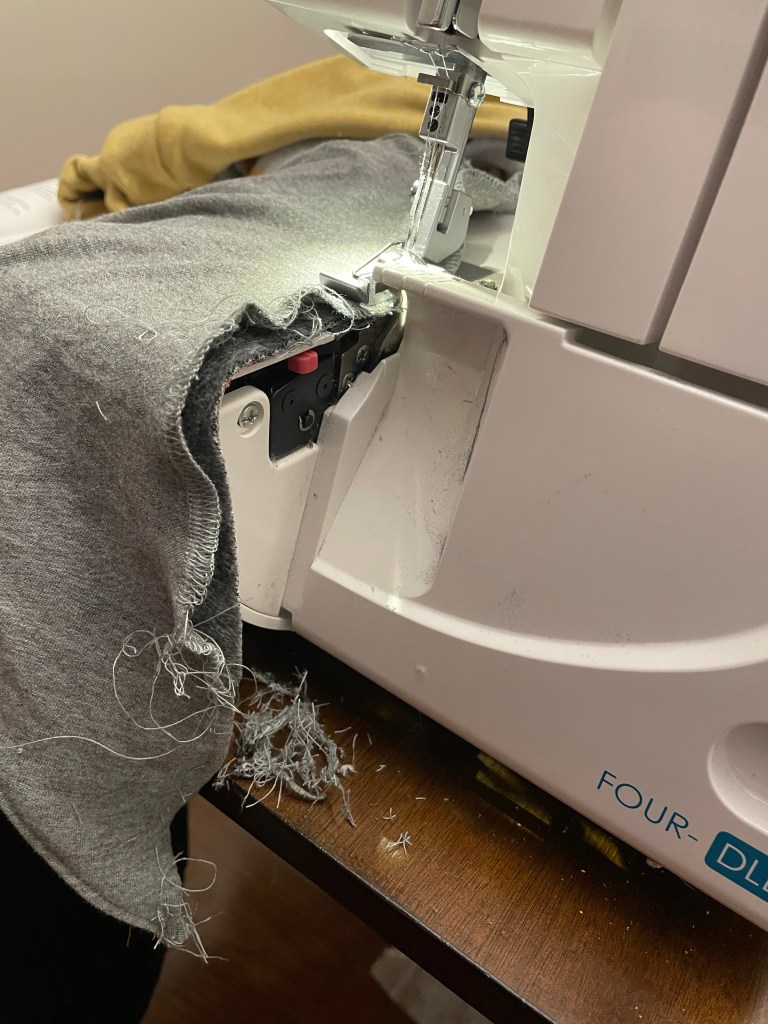
First of all, my serger was not serging. I usually serge with 3 threads, but this time it was a kids’ hoodie so I wanted to add another thread for extra security. That was a PAIN. Sergers are so delicate, even the most expensive ones. Threading them is a nightmare. It took me about 2 hours to rethread, check again, and then – when I didn’t absolutely nothing – it started working. Magic. No other explanation (well actually someone told me that I should thread the needles last and it was probably my problem, but I will go with magic instead).
Secondly, that fluffy cute fabric is THICK. I lowered my knife, so I only used the serger for attaching and finishing the seams. And that what happened:

Then, I somehow got into that and found my rhythm. Until I got to attaching the hood. In the first run I did it too fast and I didn’t catch all the 3 layers. I had HUGE holes all around the hood and had to rip the seams. This time I first connected the hood with the lining with the serger, using the knife to cut a little from the hot mess I created.
Then I started again. I finally felt better! But – and I really want to skip that part, but this blog is not about everything that is pretty but more about reality – I realized I did this:
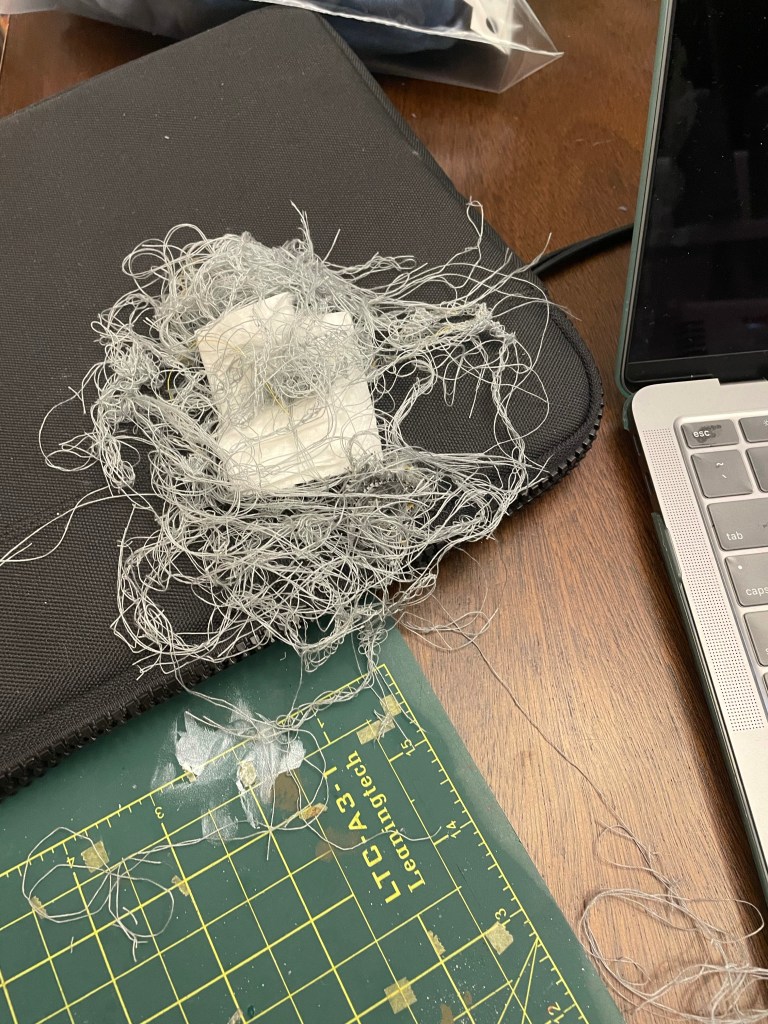
Unless I want my child to run around with hood all over his face, it’s probably NOT the best idea to connect the hood in the opposite direction. Ripping again. And if you think that ripping your seams is a nightmare, imaging how it’s like to do that twice, and for a Serger seam of 4 threads. At this point I almost started to cry.
Ok – attempt number 3 in attaching the hood! I was more successful than the last 2, obviously, but still had some holes here and there. I fixed those on my regular machine by running a stitch a little lower, then cutting the excess and serging on top.
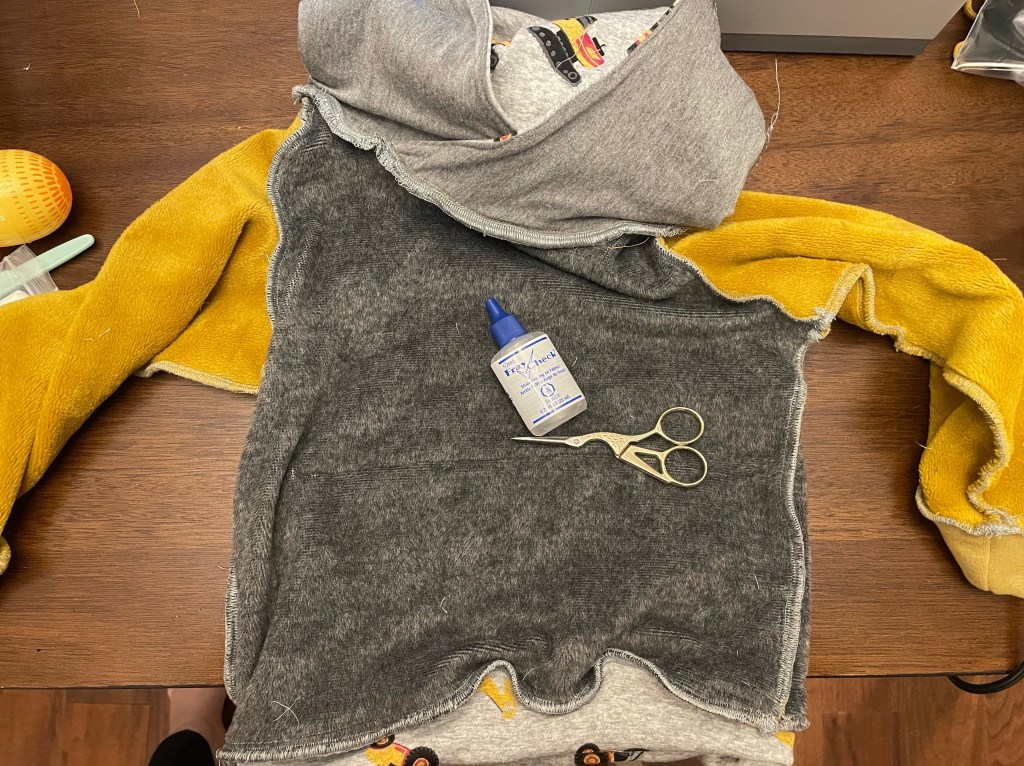
Last step – fray check. At this point (11:30pm when I started around 6pm) I really didn’t want to use an embroidery needle and hide the excess tails in the seams, so I just used this smelly glue everywhere where needed. While doing that, I found a hole in the armpit where I didn’t serge far enough. Again – fixed on the regular machine.
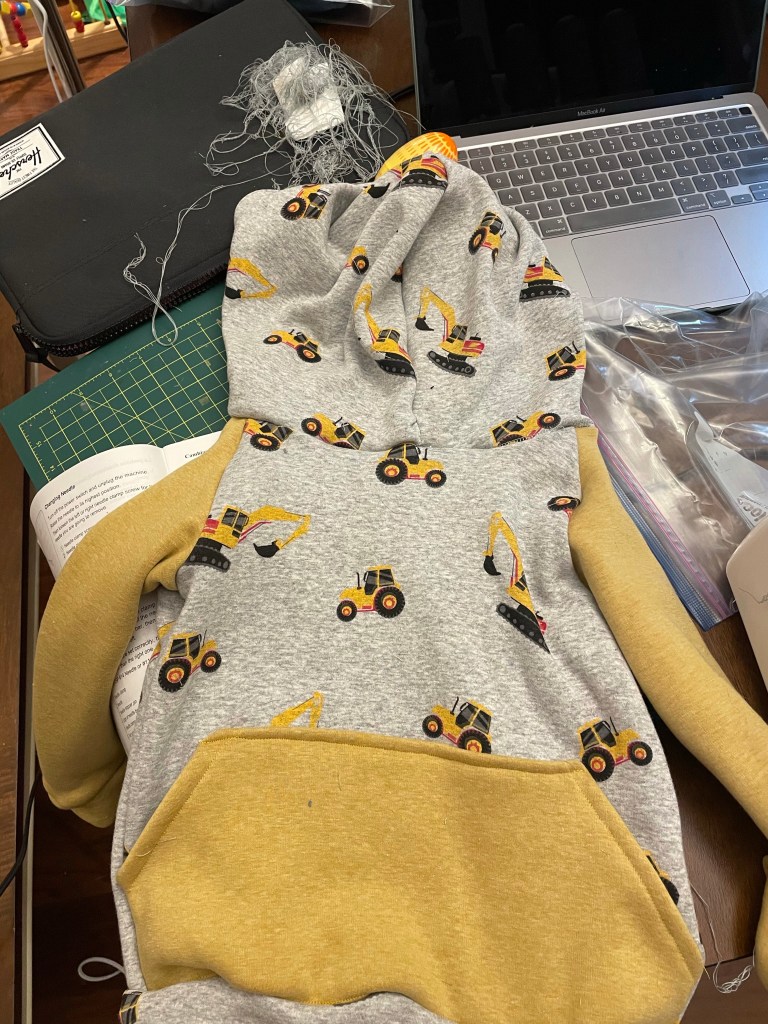
Finished result number 1:

It turned out to be extremely cute. There are sill some threads here and there around the neckline but I am the only person who sees those. So I am ok with that. A lesson learned here is – sergers can sew fast. But if they can, it still doesn’t mean you have to!!! Also, it is in NO WAY the fault of the pattern or the pattern designer! I thought the pattern was really great, the only thing I would change is to baste the hood lining to the hood before attaching to the body, especially if you’re using a slippery lining like I did. But it was really well written and making sense.
Now it’s time for the second hoodie. Working SLOW, basting where needed, and being a put-together, professional and responsible adult.
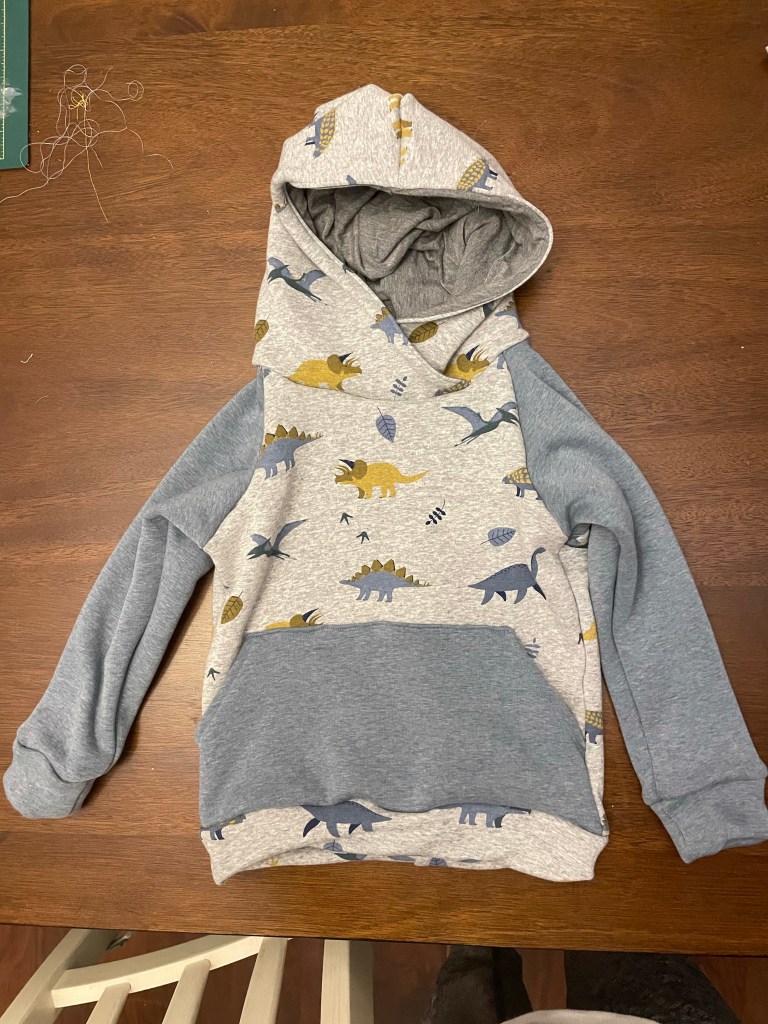
Those turned out to be super warm and the size is just right. Maybe a little long – but it was intentional as my monkey grows up so fast and I want those to last longer.

What do you think?? Leave a comment!

One thought on “Cutting Weekend Number 1 – The Raglan Hoodie (and the bane of my existence)”